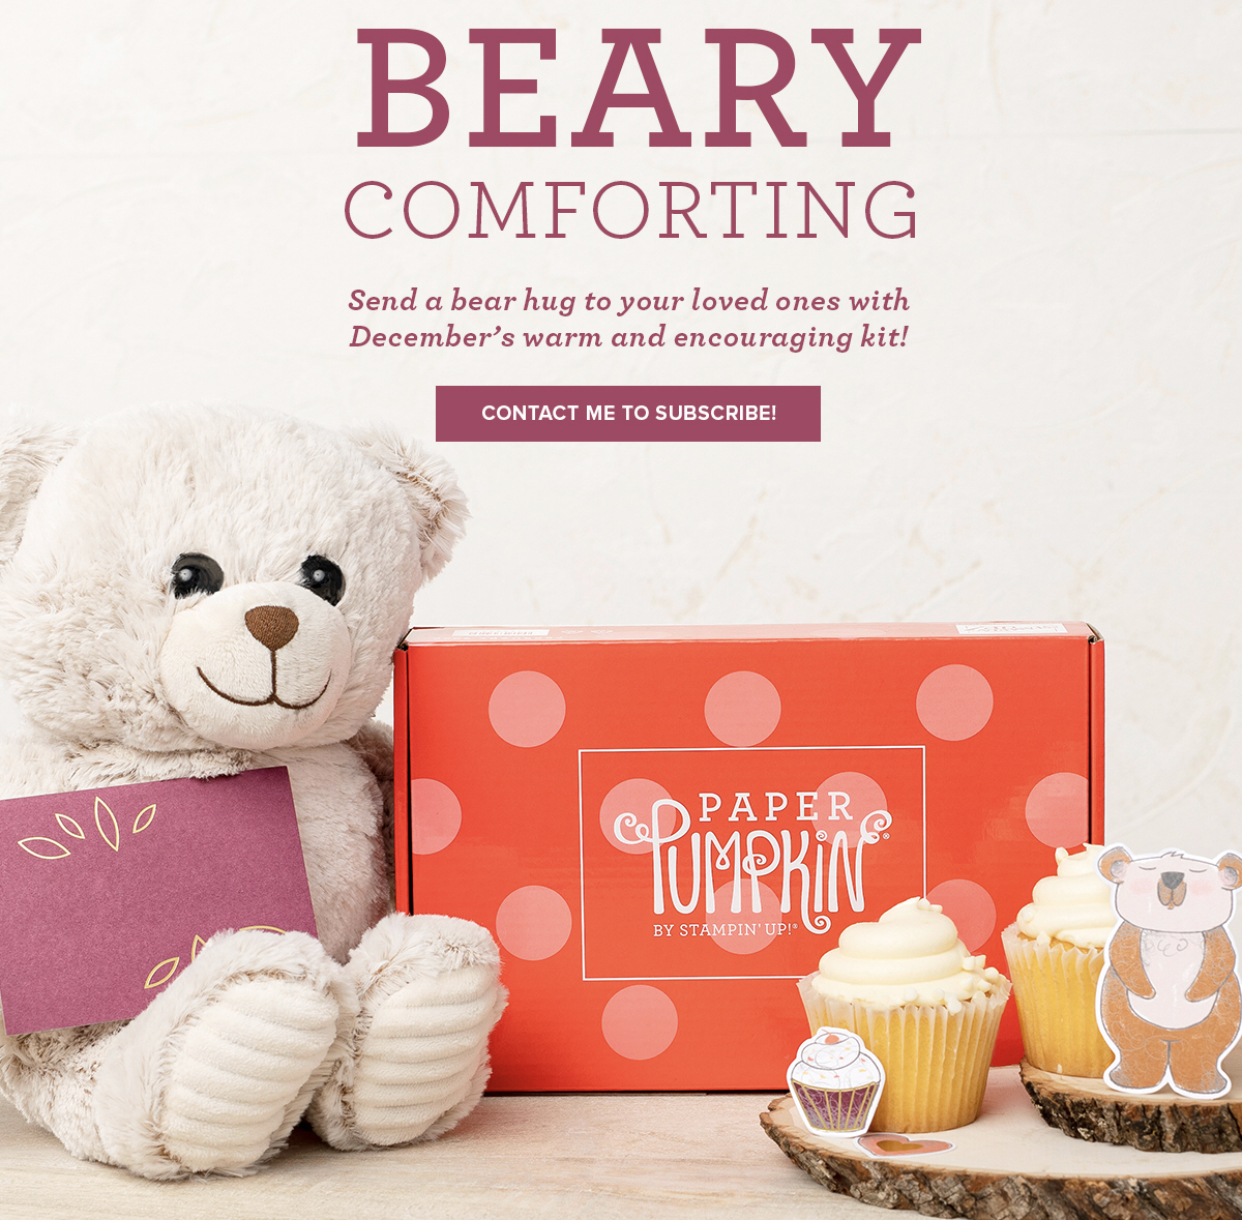
Beary Comforting – Paper Pumpkin for December
|
Dear Friends: |
| I would love to share with you the December Paper Pumpkin Kit being offered. Paper Pumpkin and Stamp With Nadine V would not want for you to skip out on what’s in store for this month’s Paper Pumpkin kit; so, we wanted to let you know about the un-bear-lievably cute and cuddly cards you can create with the Beary Comforting Paper Pumpkin Kit. |
| After a beary tough year, it’s time for comfort and cheer! We all could use a bear hug at a time like this, and sending an extra encouraging card is the next best thing. Lift your loved ones’ spirits and send them into the new year on a sweeter note with help from December’s kit! In it, you’ll find all the supplies you need to create 12 traditional, thoughtful cards—and enough envelopes to match. When combined with the kit’s adorable die-cut animals, meaningful messages, and beautifully bold colors and patterns, building up your paw-some friends and family is easier than a piece of razzleberry pie! |
| To start sending bear hugs with the Beary Comforting Paper Pumpkin Kit, subscription between 11 November and 10 December. We’ll welcome you back with open arms! |
| Sincerely, |
| Nadine V & the Paper Pumpkin Team HAPPY STAMPING https://www.paperpumpkin.com/en-ca/sign-up/?demoid=2188533 |
SHIPPING & MAIL DEADLINES
SHopping DEADLINE FOR CHRISTMAS Gifts
The Christmas season is a busy time of year for sending and receiving packages, so naturally shipping may take longer than normal. If you are placing any Stampin\’ Up! orders for Christmas gifts, please submit them by 9 December.
Stampin\’ Up! cannot guarantee that orders placed by 9 December will arrive in time for Christmas, but orders submitted after this date are more unlikely to arrive before Christmas.
Canada Post has also posted deadlines for parcels and packages, and regular mail.
Local and Regional Send by December 21
National Sent by December 18th https://www.canadapost.ca/cpc/en/our-company/news-and-media/corporate-news/holiday-sending-guidelines.page
RELEASE DATE JANUARY 2021 & CLASS DATES
This new mini will be Stampin’ Up! Best releases yet. Im very excited to be able to share with you shortly a sneak peak of products that will be available to you come January 2021. Starting January SALE-A-BRATION which will give everyone FREE Yes FREE PRODUCTS. Stay Tuned. More to come. 🥰
My next few card class dates are:
Sunday, November 22 1:00 pm
Monday, November 30 6:30 pm
Visit me at nadinevalle.stampinup.net
Click on EVENTS – Let me know you want to participate. Im preparing the card kits. If you do not live in my area to do a porch pickup or door drop; I can mail one to you.
These kits will have instructions and all the card stock/ cut outs and embellishments needed to assemble.
If you need a basic tool kit to paper craft in your own space. Let me know, I can help you get started.
Happy Stamping!!
From my stampin studio,
Nadine V. ❤️
Bake Up Something Sweet this Christmas
STAMPIN’ Up! With Nadine V Event List”
Here is a list of Monthly Card Classes (NEW) All ON LINE via ZOOM – All card packages will be either porch pick up or delivered – when you register for a class, a ZOOM link will be sent to you with all the instructions….these are fun and easy technique classes helping you create beautifully, hand-made greeting cards. Class Fee is $15.00 – 3 card will be created
“Monday Evening Card Class” ~ Time: 6:30 pm
October 5th – November 2nd – November 30th
“Sunday Afternoon Card Class” ~ Time: 1:00 pm
September 27th – October 25th – November 8th – November 22th
AUTUMN CARD BONANZA and BINGO – Join me for a fun night of Stamping and BINGO. It will be a night of some make and takes, stamping, BINGO games, treats, and prizes. Event ticket and Registration Fee is $45.00 will include a “Welcome” Gift, 2 BINGO Cards, a stamping package that is filled with enough supply to create 8 cards. (2 of 4 designs)
Optional Extra – $5.00 buys you 1 additional BINGO card – the amount that is generated will be put towards the GRAND PRIZE. The MORE Extra BINGO cards Purchased the BIGGER the GRAND PRIZE is!
I accept EMT by sending payment to vlygrl@rogers.com “BINGO”
CARDS AND COOKIES TIME – On Sunday December 6, I would love for you to join me for some stamping and a cookie exchange. Stay tuned for the detail … This will be a Social Distancing EVENT.
“Paper Pumpkin” Try it You will Love it ~ Fee: $33.90 (including tax and S&H)
Want to get a closer look at Paper Pumpkin? Here’s your chance to try it out! In a kit you will receive everything you need to create sweet projects – a stamp, ink spot, accessories and paper. Woo Whoo!! Want more, it gets better… You get this kit delivered right to your home. You can create anytime you wish, your choice or You can stamp with me during a Paper Pumpkin class. Each month there is a different theme and no one month has the same colour ink spot. Payment needs to be made by the 10th in order to receive a kit for that month/ or you can set up a prepay option. *** CONTACT ME FOR MORE INFORMATION ***
Have any questions or need to E-transfer payments send to vlygrl@rogers.com
Visit me on Instagram or Facebook @ Stampin Up with Nadine V
Visit my website ~ nadinevalle.stampinup.net
Do What You Love ~ Love What you Do / Looking forward to creating together
YouTube Video – RIBBON BOX Instructional Video
Hi there: Here is the link for my YouTube Channel – Stampin\’ Up! with Nadine V
RIBBON BOX – STORAGE and ORGANIZE
Material needed – Found in the Stampin\’ Up! Annual Catalogue 2020/22
- Card stock – pages 142 – 143 in the Stampin\’Up! Annual Catalogue 2020/22
- Designer Series Paper – Pages 148 – 150 Stampin\’ Up! Annual Catalogue 2020/22
- Detailed Trio Punch – #146320 pg. 165
- Tear and Tape Adhesive – #138995 pg. # 162
- Spool of Ribbon (various sizes) page #160 – #161
- Paper Trimmer – #152392 pg. # 151
- Stampin\’ Seal adhesive – #152813 pg. #162
- Take a Pick Tool # 150006 pg. # 159
- Paper Snips # 103579 pg. # 159
- Bone Folder # 102300 pg. # 159
Measurements –
For a 3 ¼” inch x ½” inch, Ribbon Spool
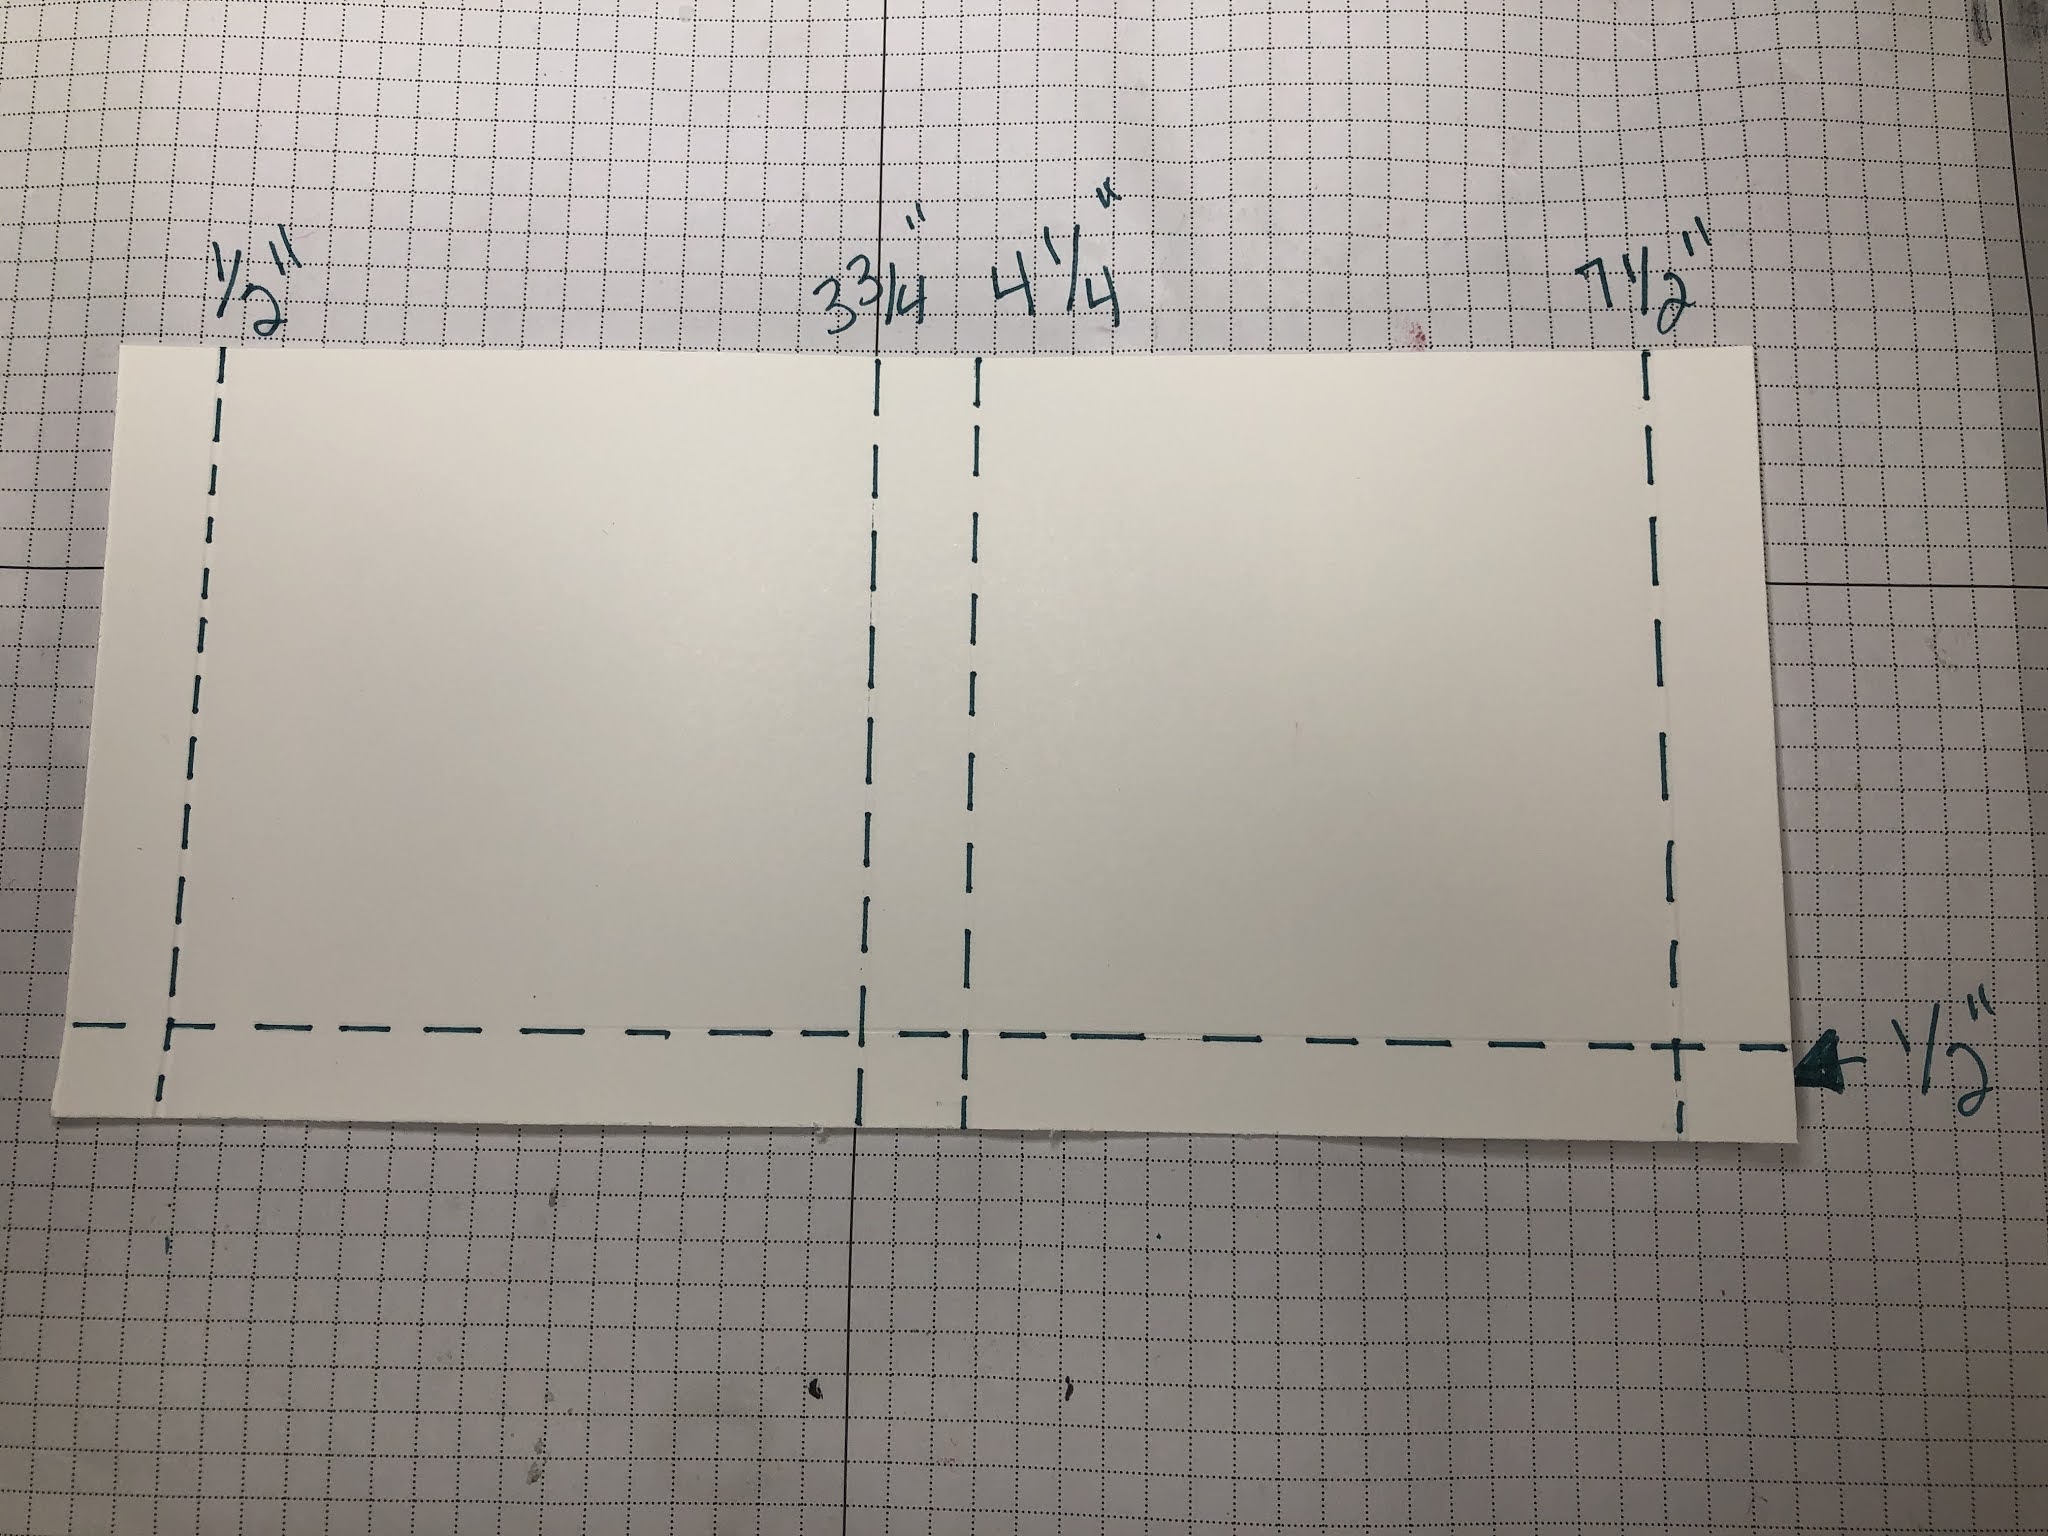
· Using your Paper Trimmer Cut a piece of card stock at 8” inch x 3 ¾” inch
· Using your Paper Trimmer Cut a piece of DSP (designer Series paper) 3” inch x 3” inch (Optional)
Instructions –
Place the card stock along the top edge of your trimmer with the long 8” side card stock
Score at ½”, 3 ¾”, 4 ¼” 7 ½”
Place the card stock along the top edge of your trimmer with the short 3 ¾” side along
Score at ½”
Use the Detailed Trio Punch – punch a hole in the centre of the second ½ section of your card piece. Please note – the ideal placement of the hole should be opposite to the bottom of the paper where the ½” score line is.
Place a strip of Tear and Tape adhesive on the outside ½” tab and another strip of tape on the adjacent ½” tab on the bottom.
(Optional) At this point- Before you assemble the box, on the other side of card stock place the DSP in one of the 3 ¼” x 3 ¼’ squares with Stampin’ Seal
Remove the protective film on the 2 pieces of Tear and Tape and start assembling.
Place your ribbon spool in the box and feed the ribbon through the punched hole
WAA LAA!
YOU DID IT!
EASY PEAZY LEMON SQUEEZIE
Follow me on YouTube for more instructional videos. \”Stampin\’ Up! with Nadine V\”
STAY TUNED ![]()
From my Stampin’ Studio, Nadine V
Box Size for Ribbon Spool
For a 3 ¼” inch x 7/8” inch, Ribbon Spool
· Using your Paper Trimmer Cut a piece of card stock at 9” 1/8 inch x 4 1/8” inch
· Using your Paper Trimmer Cut a piece of DSP (designer Series paper) 3” inch x 3” inch (Optional)
Instructions –
Place the card stock along the top edge of your trimmer with the long 8” side card stock
Score at 7/8”, 4 1/8”, 5” , 8 1/4”
Place the card stock along the top edge of your trimmer with the short 3 ¾” side along
Score at ½”
Use the Detailed Trio Punch – punch a hole in the centre of the second ½ section of your card piece. Please note – the ideal placement of the hole should be opposite to the bottom of the paper where the 7/8” score line is.
Place a strip of Tear and Tape adhesive on the outside 7/8” tab and another strip of tape on the adjacent 7/8” tab on the bottom.
(Optional) At this point- Before you assemble the box, on the other side of card stock place the DSP in one of the 3 ¼” x 3 ¼’ squares with Stampin’ Seal
Remove the protective film on the 2 pieces of Tear and Tape and start assembling.
Place your ribbon spool in the box and feed the ribbon through the punched hole
Peony Garden Suite Card Class
Summer Nights by Paper Pumpkin
SUMMER IS HERE and it never seems to stay for as long as we like. So have a great time and enjoy this beautiful season with this monthly kit that is delivered right to your door.
LINK to the SPRING BOGO SALE on FACEBOOK \'til SATURDAY @ 9pm
https://www.facebook.com/groups/stampinupwithnadinev/