Here we are, December 23. I look at the weather outside, and we will be having a White Christmas. Yay!!! I really love this time of year. (Did I say, SNOW ANGELS) The hustle and bustle of the holidays. I love all the fond memories & all the new traditions we have created over the years. I could be sad for missing all my loved ones no longer with us. However I embrace those memories because these precious moments happened as I will always hold them close in my heart. I will take time to reflect & share that all your kind support over this year has not gone unnoticed. However great or small, it all warms my heart and is greatly appreciated. This past year has been so much fun. I had so many new faces around the craft table showing off your found creativity and not looking at the clock as time flies when the fun was happening. I value and treasure the relationships built with you all. I look forward to many more workshops, events and continuing the creativity in the stampin’ studio. Please look at dates for 2023. There is something for everyone at any age!
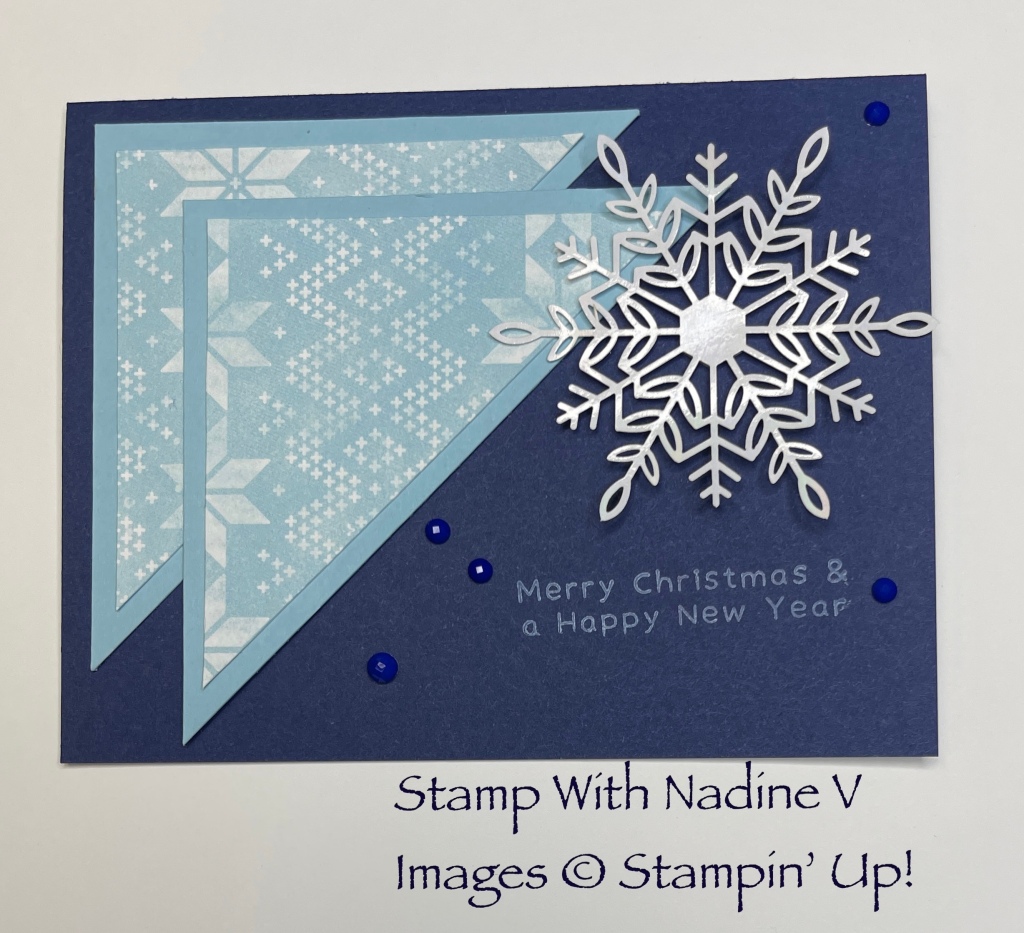
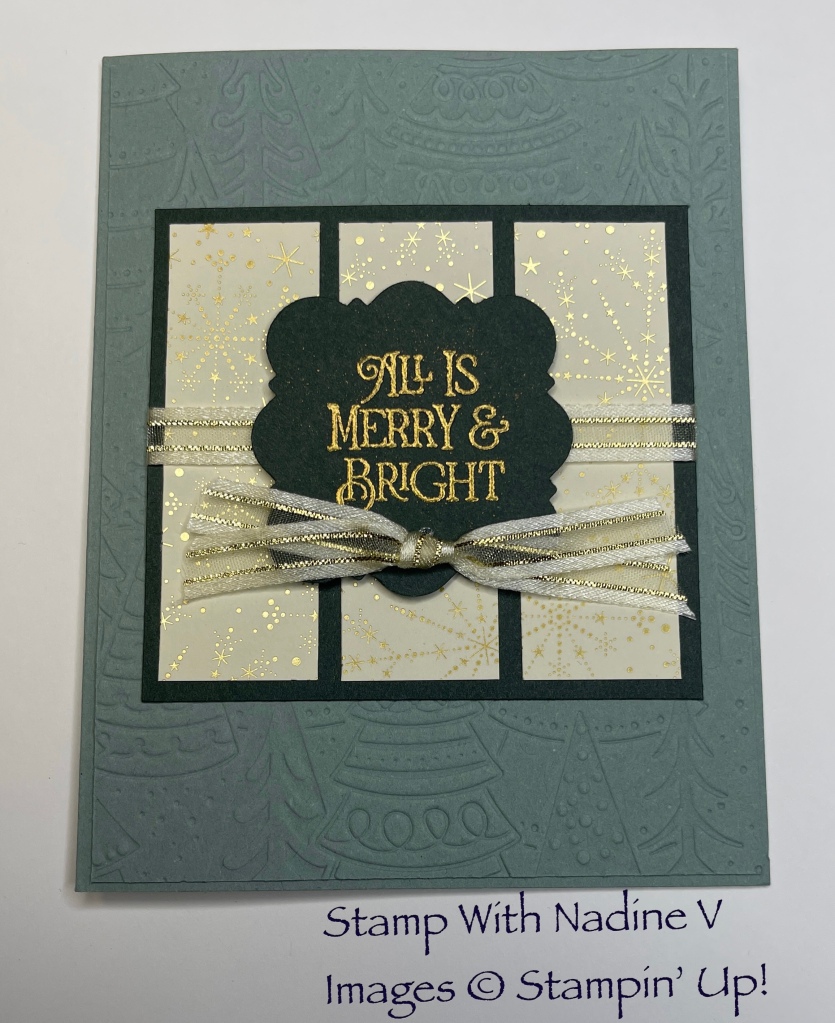
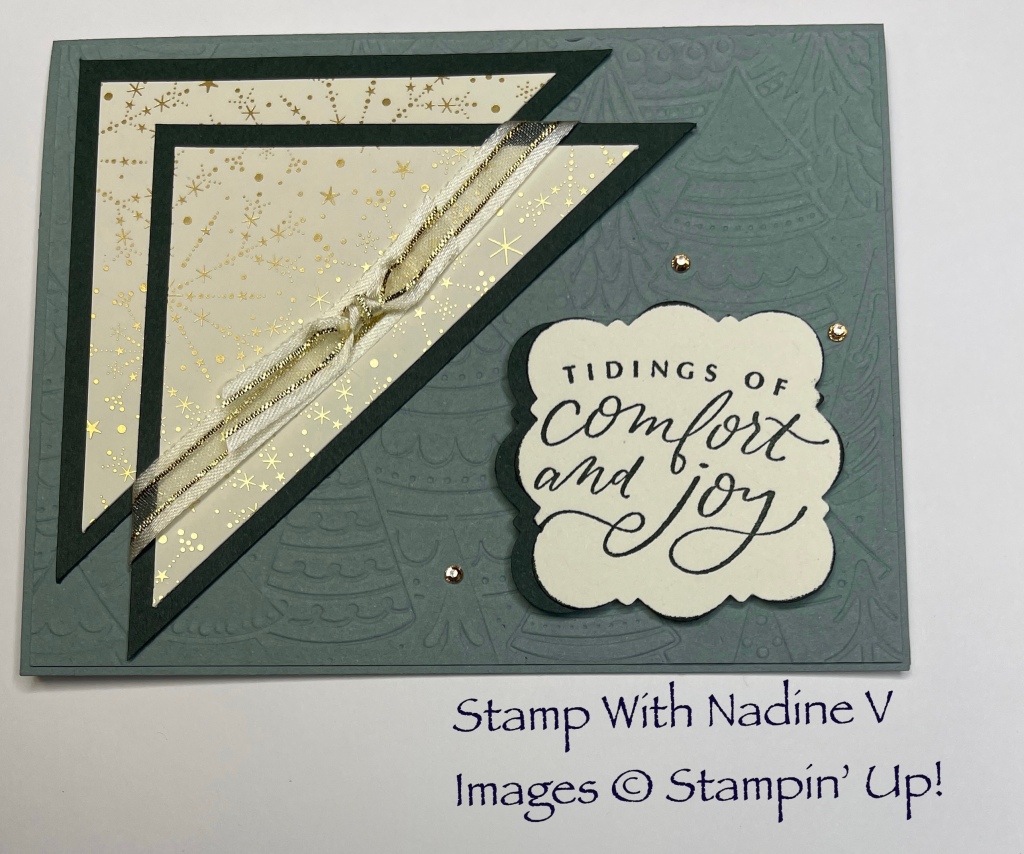
Stamp With Nadine V wants to wish everyone a Very Merry Christmas and A Happy New Year 2023.
See you in 2023
In the meantime if you are in need of any stamping, scrapbooking supplies or crafty bits visit my online store… Don’t forget to check out the Clearance Rack or the Last Chance Items 👍
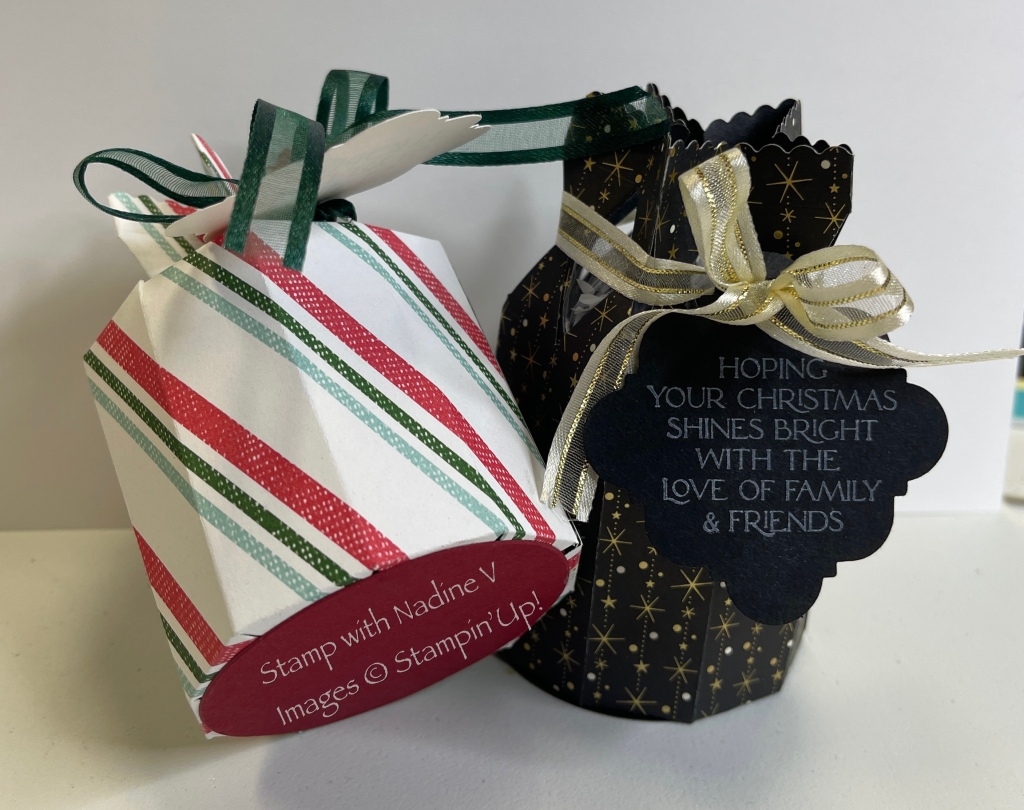
Gift Card Holders and Treat Package Templates – Great for give-aways, table-settings, pillow gifts, stocking stuffers, small gifts.
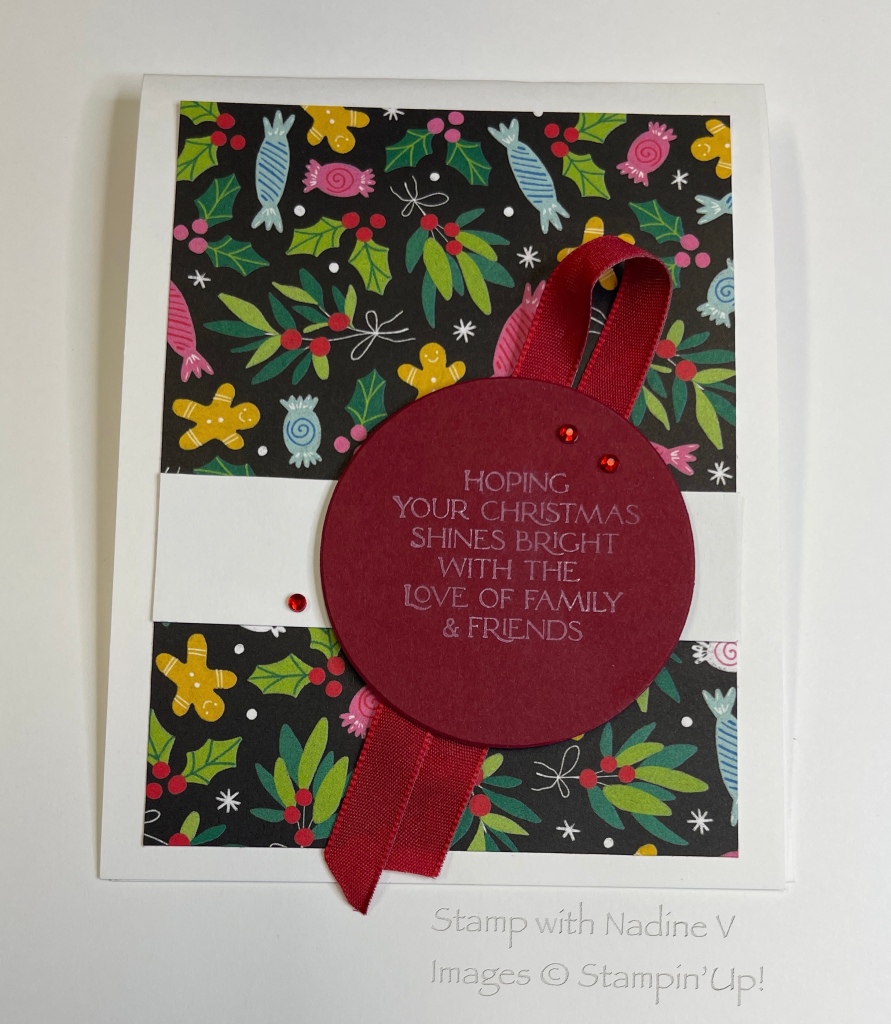
Treat Box made with the Cracker & Treat Box Dies #159182 (AC) and the Handmade Tag Punch #159690 (J-JMC) – These will fit loads of goodies even a small gift
2 Sheet Cracker Box Pouch Instructions
Step 1. Start with TWO 6” x 5” pieces of paper or card stock. Run both pieces through with the cracker box die. Fold along the score lines. Cut off the end of ONE side on both pieces (see diagram). Step 2. Put glue all along one end segment of one of the pieces. Adhere to the end of the other piece. Then put glueon one of the end segments again and overlap with the other end segment. Place this cylinder shape with the little triangles facing up. Fold down the triangles so that they are parallel with the work surface. Shape the cylinder so that it is as round as possible (see video). Step 3. Cut TWO approximately 2-3/8” diameter circles (3rd largest Layering Circle). Put a dot of glue on each of the little triangular tabs. Place one of the circles on top of the triangles and push down gently until the triangles start to bond with the circle. Flip the piece over so that the circle is on the work surface. Put glue all over one side of the other circle. Put this circle adhesive side down into the bottom of the cylinder. Push down with a bone folder. 4. Fill the pouch with your choice of candy or small gift. 5. For the top, pinch two triangles at a time to create a star shape. Tie an 18” length of ribbon around the top and tie into a bow. 6. Stamp sentiment of your choice and punch out a tag using the Handmade Tag Punch. Create a hole at the top of the tag with theBest Tag Trio hole punch. To hang the tag, feed the ribbon bow through the hole.
NO ADHESIVE NO CUTTING GIFT CARD And NOTE HOLDER
Designer Series Paper – 7″ x 8″ Your choice of pattern (Consider the direction of the pattern)
Score along the 7″ side at 1″ from each side; Flip and score at 3-1/2″
Rotate 1/4 turn and score along the 8″ side at 2-1/8″ from each side
Instructions below!! Easy and 3 holder can be made from 1 solid cardstock 8 1/2” x 11” piece The gift card slips right in, snug as a bug in a rug!
GIFT CARD HOLDER PAINTED CHRISTMAS DSP – 2”x3” (2 pcs landscaped) |CHERRY COBBLER CARDSTOCK – 3 1/4” x 8 1/2” • Score along the long side at 2 1/4” and 6 1/4” ( or 2 1/4 from each side) | VERY BEST TRIO PUNCH #159878 – Choose which side will be the Top flap ( both are the same size) and then round the corners with the punch | Round the corners of the 1 piece of DSP that will attach to the top flap. **TIP** Flip the paper 180° to punch the second corner so you have the same pattern on both sides. Adhere to out of card holder| Apply Tear & Tape (or adhesive of choice) to the inside edges of the bottom flap | Remove Tear & Tape backing, Fold up Bottom flap then adhere| Slip Gift Card in the pouch | Secure Top Flap with a belly band or ribbon | Add a small tag and embellishments of your choice… VOILA
Thick Basic White card base – 4-1/4″ x 11″, scored and folded in half at 5-1/2″
Basic White strip – 1″ x 3-3/4″
CELEBRATE EVERYTHING Designer Series Paper: (HOST GIFT with a qualifying order) J-J MC
Inside pop-up – 4-1/4″ x 6″, scored at 1/2″, 1-1/4″, 1-3/4″, 2-1/2″, 3-1/2″, 4-1/4″, 4-3/4″, 5-1/2″