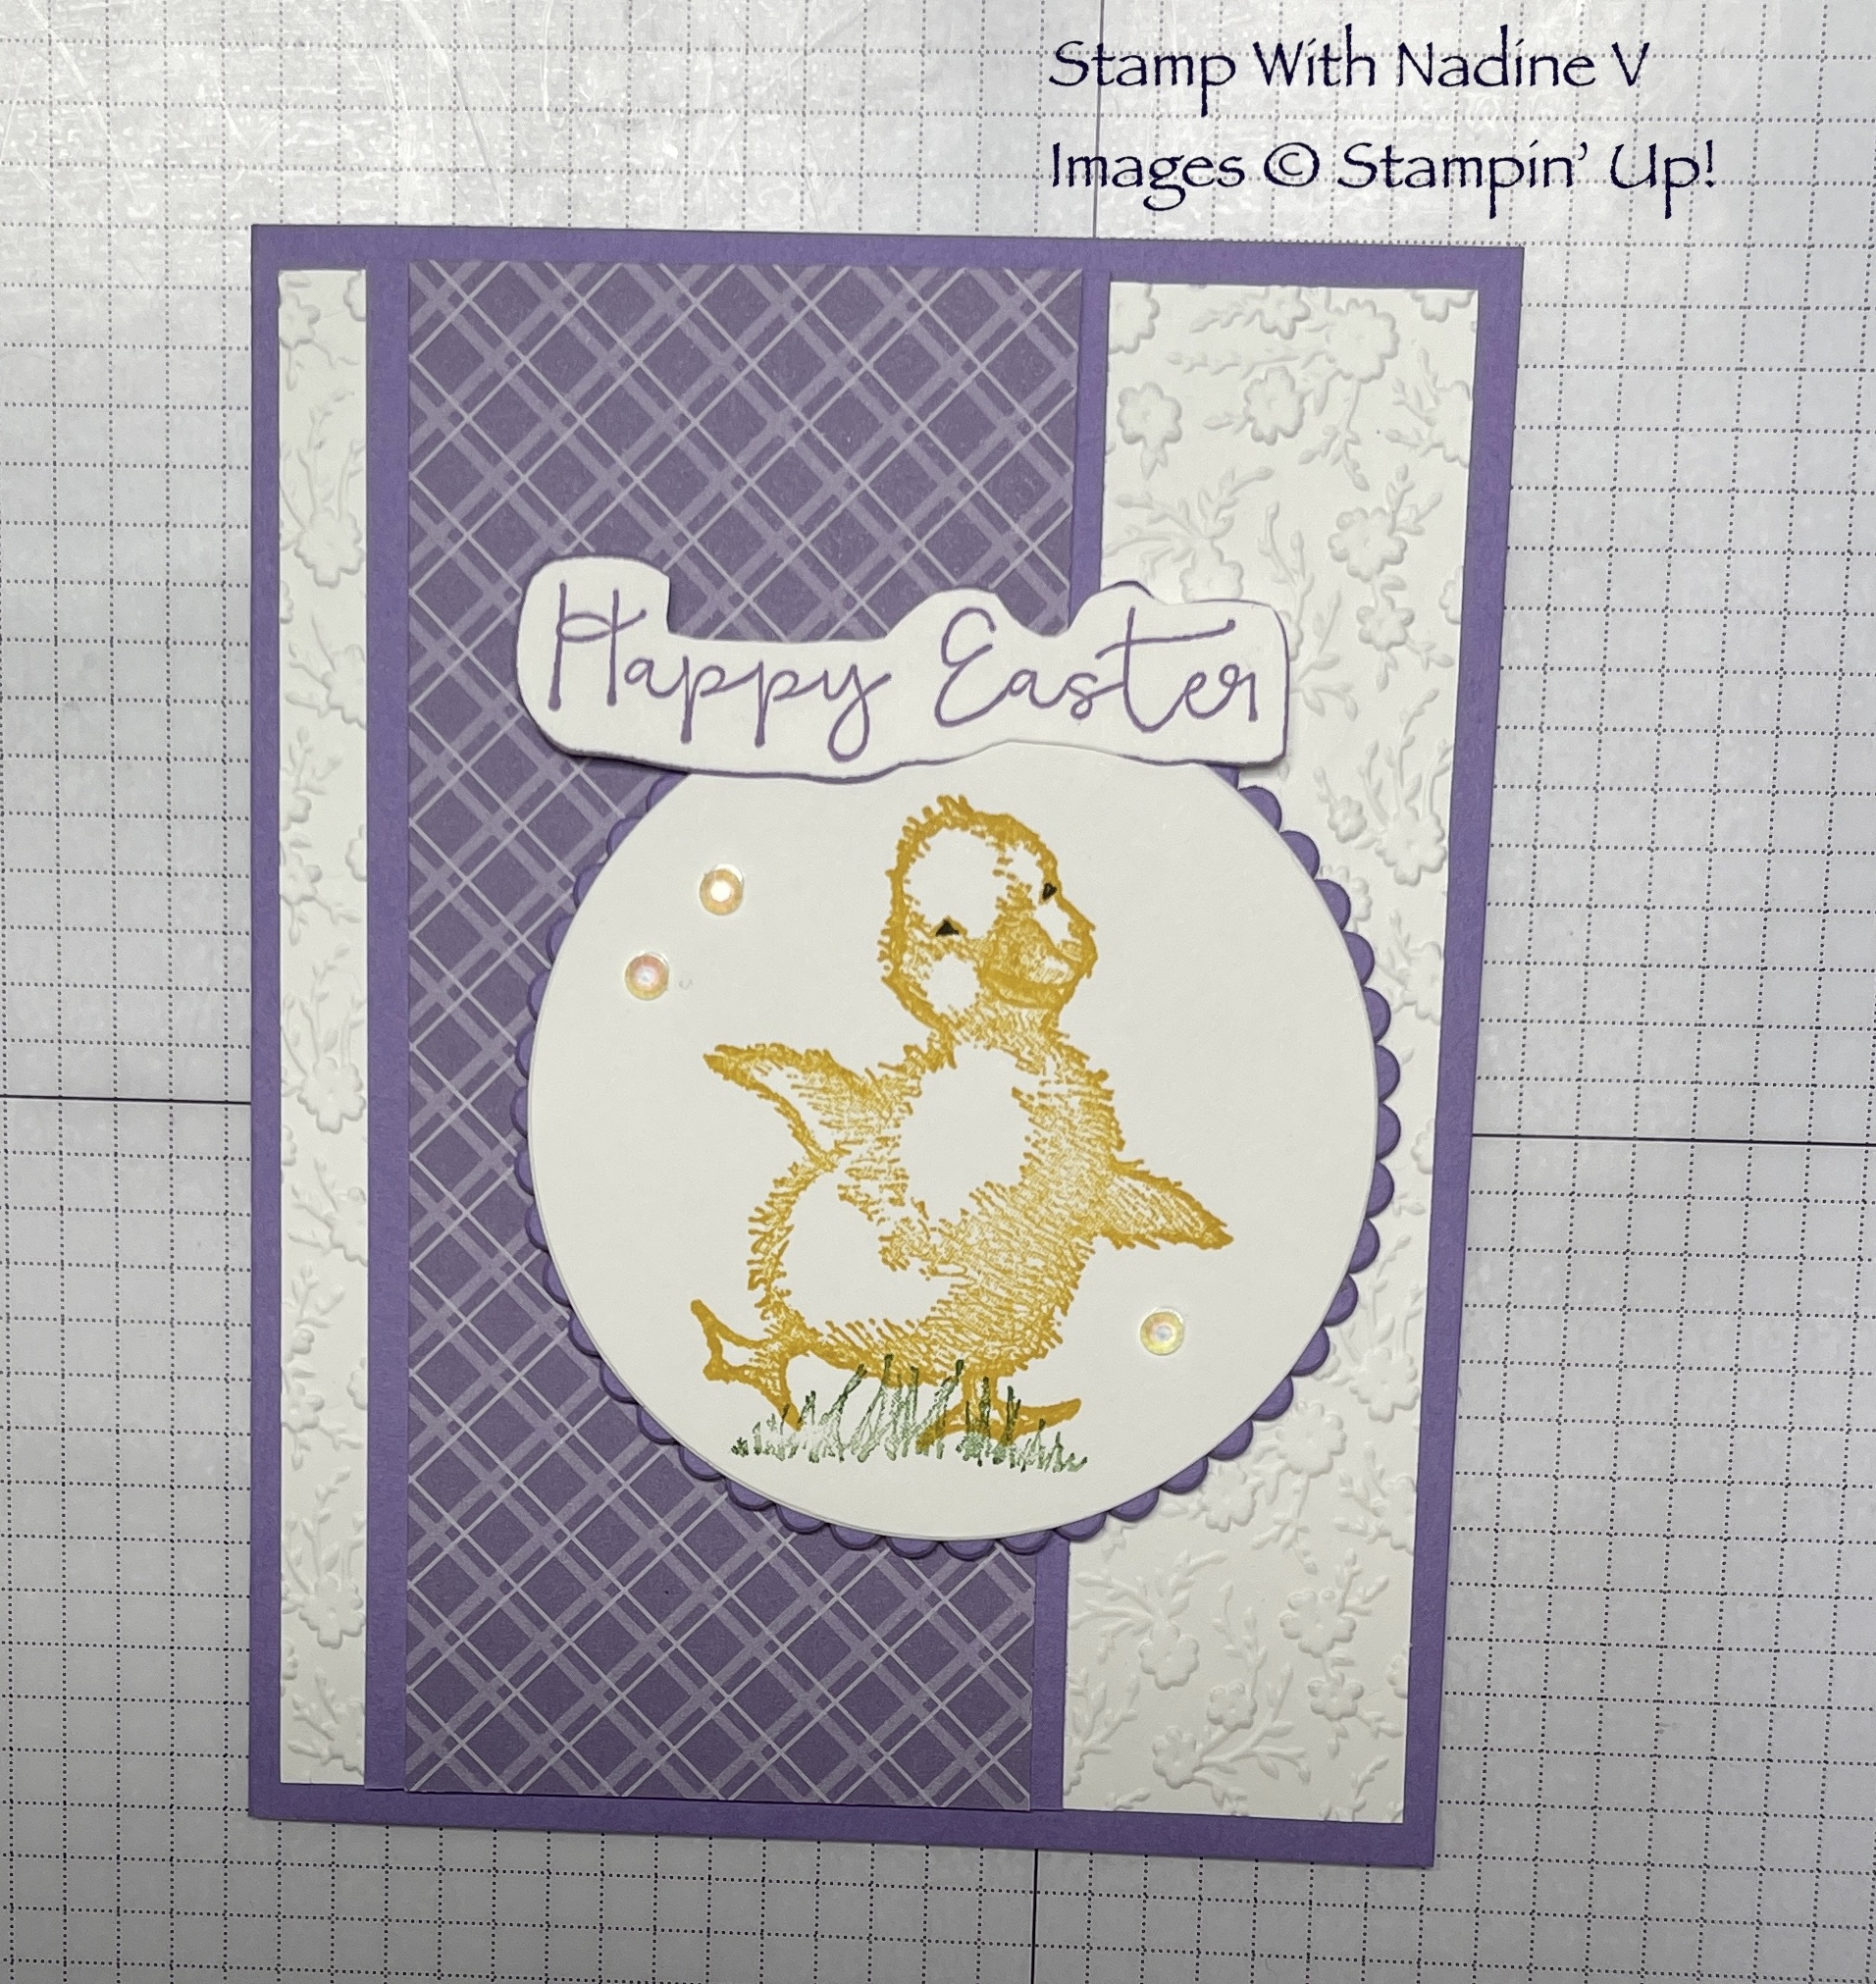
Card base Cut card stock Either 5 1/2 x 8 1/2 Scored @ 4 1/4 OR Cut 4 1/4 x 11″ Scored @ 5 1/2 – This will all depend on your preference on how you want the card to open
Embossed Card Front layer Cut cardstock 4″ x 5 1/4″
Card Front Layer (1) 2 1/2 x 5 1/4″
Card Front Layer DSP (1) 2 1/4 x 5 1/4″
Inside Layer – Basic White or Very Vanilla 4″ x 5 1/4″
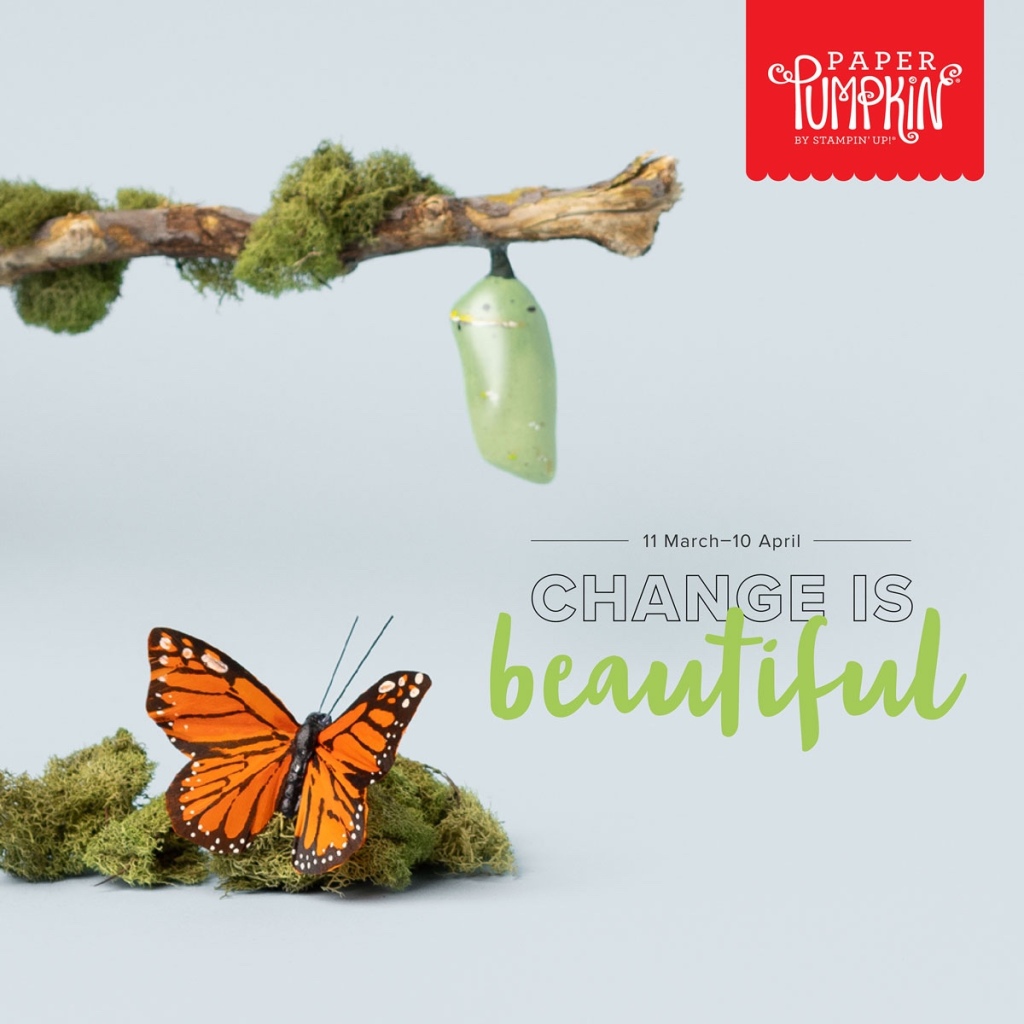
Paper Pumpkin is our monthly One-Stop Box™ that offers a unique variety of paper projects for you the subscriber with any skill level to enjoy! These thoughtfully-themed and all-inclusive craft kits encourage you to explore your own creativity, try new techniques, and discover your potential in papercrafting.
ABOUT THIS MONTHS’ KIT
Change Is Beautiful
This kit includes:
Change is Beautiful Photopolymer Stamp Set
Melon Mambo Classic Stampin’ Spot®
Printed card bases
Printed envelopes
Printed, shaped die cuts
Iridescent sea glass
Dimensionals
Card size: 4-1/4″ x 5-1/2″ (10.8 x 14 cm)
Coordinating Stampin’ Up! colors: Balmy Blue, Basic Black, Bermuda Bay, Crushed Curry, Evening Evergreen, Granny Apple Green, Melon Mambo
SUBSCRIPTION INFORMATION
There are several options for you to choose to suit your needs – Ask Me
Are you ready to start now – Subscribe to the April CHANGE IS BEAUTIFUL Paper Pumpkin Kit between 11 March and 10 April using this link below
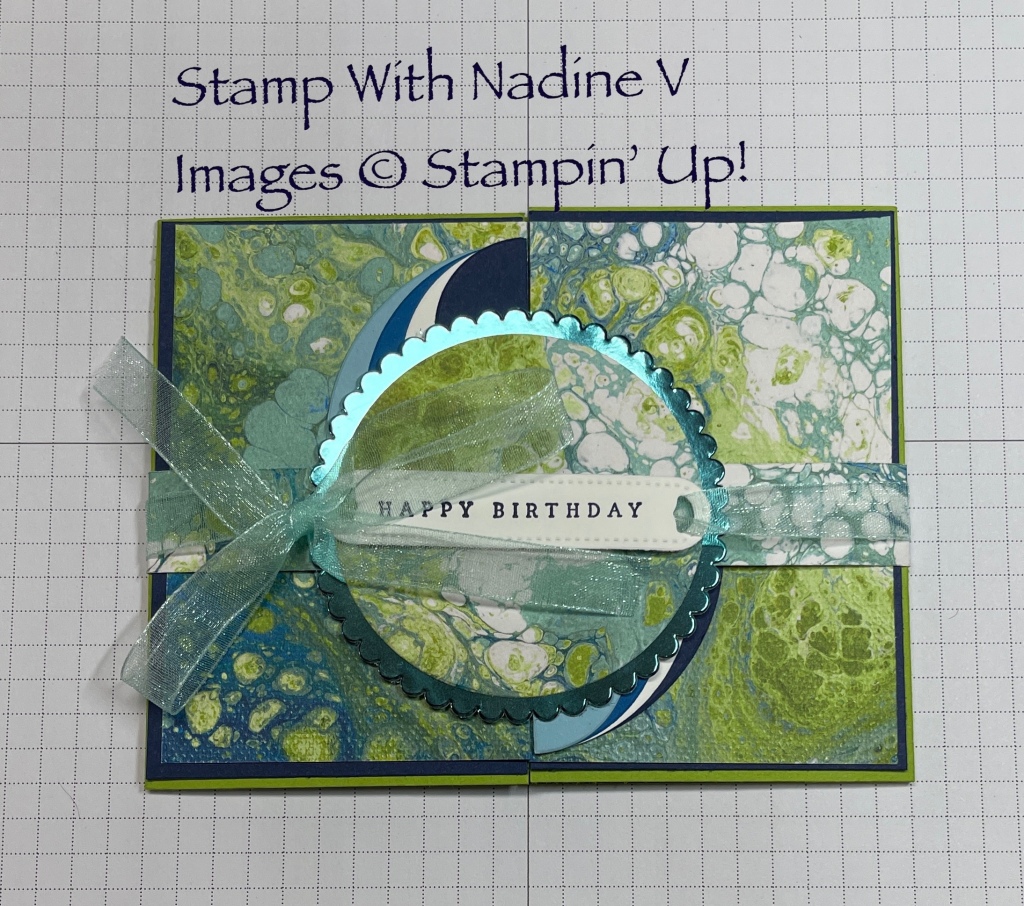
A fun and very easy way to pretty up a card that fits in a standard envelope.
Template and Measurements
Card Base 5 1/2” x 11” – Coloured Card Stock – On 11” side on left side Score @ 3 3/8” – Turn 180° – Line left side of card stock repeat – Score @ 3 3/8”
Belly Band 1” x 11” – Coordinating Card Stock
Inside of card – 4” x 5 1/4” Basic White or Very Vanilla
1 Layer Card Front – 2 pieces – Cut 3 1/8” x 5 1/4” Designer Series Paper – On left side mark down @ 1” Turn 90° so left side 5 1/4” side at the top – Mark down 1”
HELPFUL TIP *** If you want to have both front panels the same pattern. Turn the one piece over onto the opposite side BEFORE cutting.
OR 2 Layer Card Front – 2 Pieces – Cut 3” x 5 1/8” Designer Series Paper AND Cut 2 Pieces – 3 1/8” x 5 1/4” Solid Coloured Card Stock
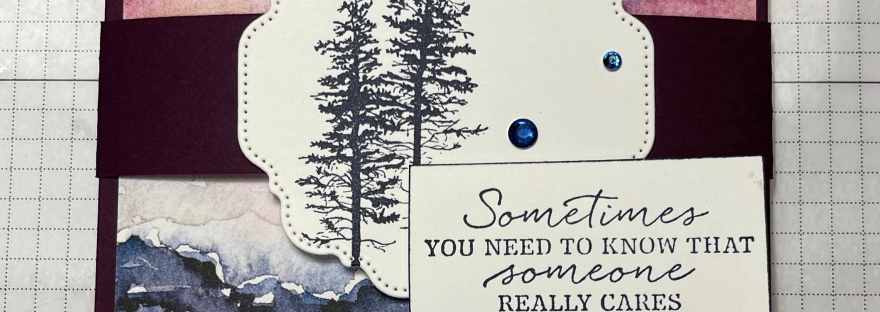
Belly Band – Cut 1 Strip of card stock measuring 1” x 11” – Wrap around the assembled card – Adhere with Stampin’ Seal to close. Place a Tag of your choice to the Band.
Card Base – On the left side of the base, measure 1” down & make a tick mark with a pencil – Repeat on the top right side down 1”. See diagram (template below)
On the bottom of base – mark 1” across the on both the left – repeat on the right. See diagram (template below)
On the left side of the card base, Cut from the score lines to the top tick marks then cut from the top tick mark to the bottom tick mark. Repeat on the right side – Cut from right score line to the top tick mark, etc.
Adhere the DSP layers to the card fronts. Using your bone folder and flip over to the back side of the card; smooth out the folds/ score lines. Tip- You can use Stampin’ Seal to assemble the layers together / If you want more wiggle room use Tombow White glue.
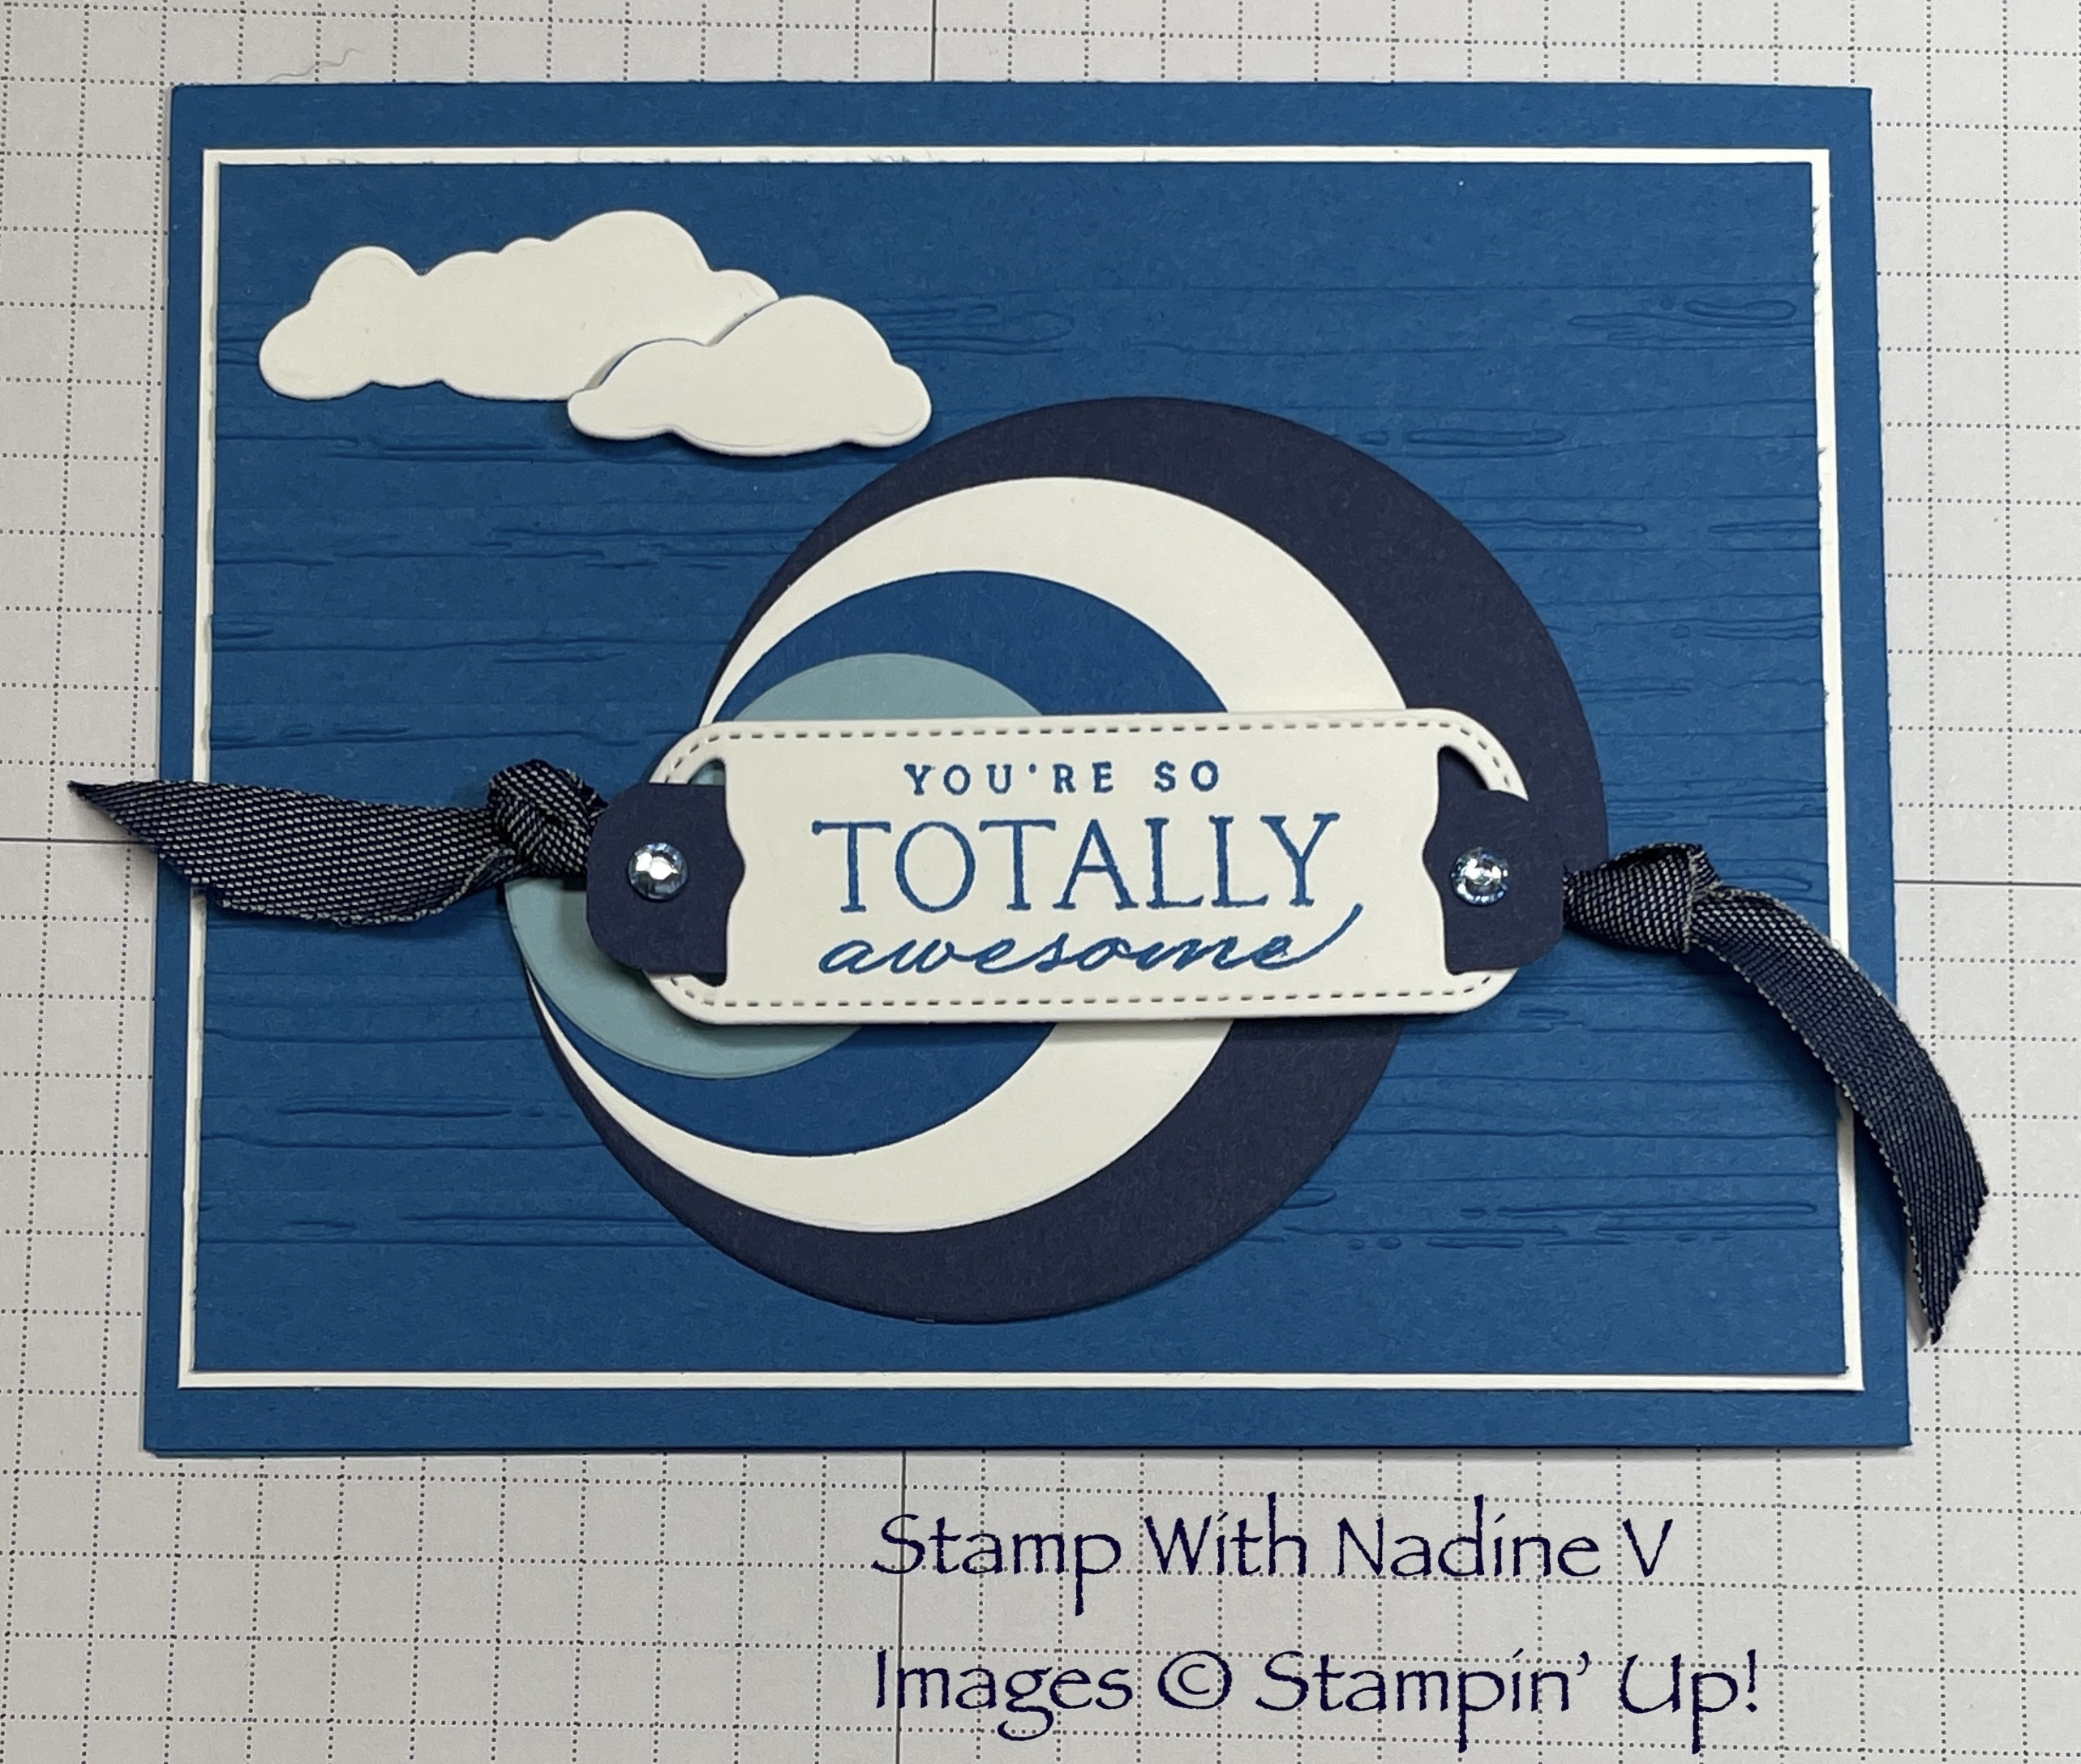
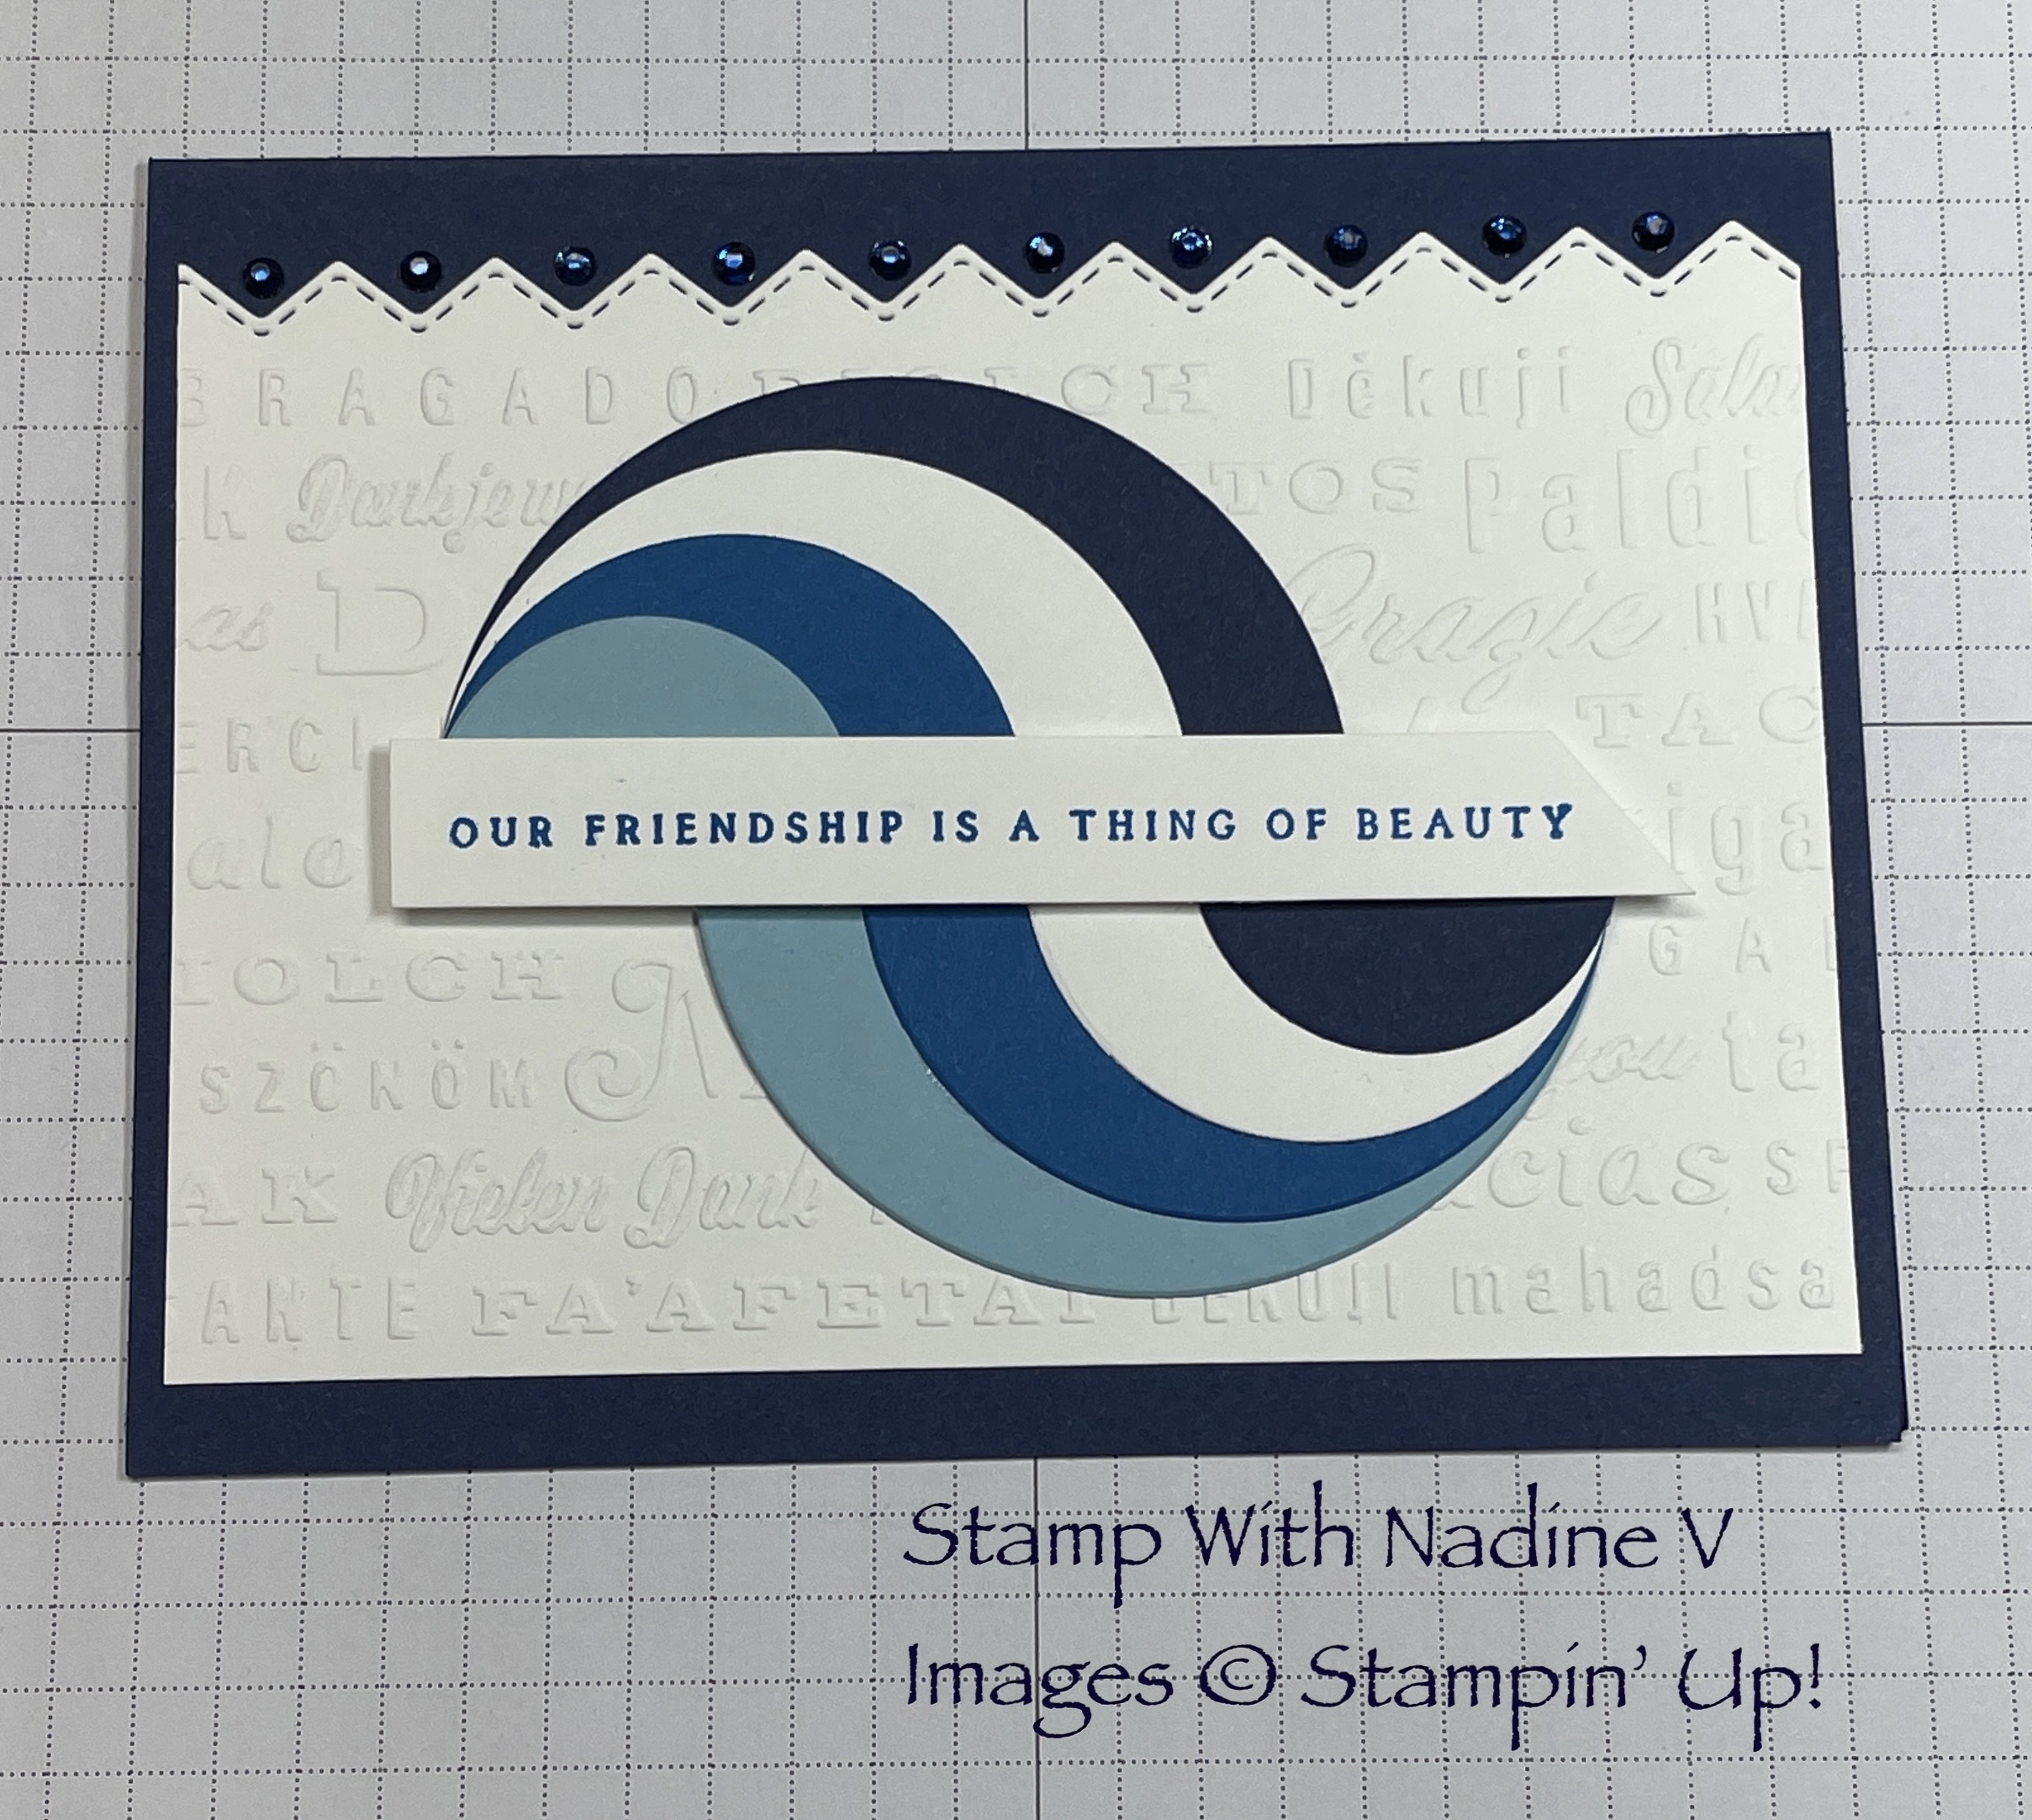
TEMPLATE CARD BASE BlackBerry Bliss Card Base – New Horizons DSP 6×6 Grassy Grove Stamp Set for wording and Images INSIDE OF CARD – Belly Band Grow Where you are Planted Designer Series Paper – Welcoming Window Stamp Set – Sample Using 2 Layer Card Front and Belly Band Nuts & Bolts Stamp Set / Subtles DSP 6×6/ Image coloured in using Water Colour Pencils/ Sample Using 2 Layer Card Front#simplestamping Peaceful Moments Stamp Set (wording inside) Timeless Tulips (Happy Birthday) Flowing Flowers Stamp Set (Thank You/ outside) – Pansy Petals 12×12 DSP – Hippo & Friends Dies – Timeless Tulips Stamp Set (inside wording) Wave of the Ocean Stamp Set – Denim Ribbon -Neutrals 6×6 DSP Wave of the Ocean Full Collection
Join me every week for more Inspirational Tutorials on Facebook Lives
Shop my online store / Stampwithnadinev.stampinup.net
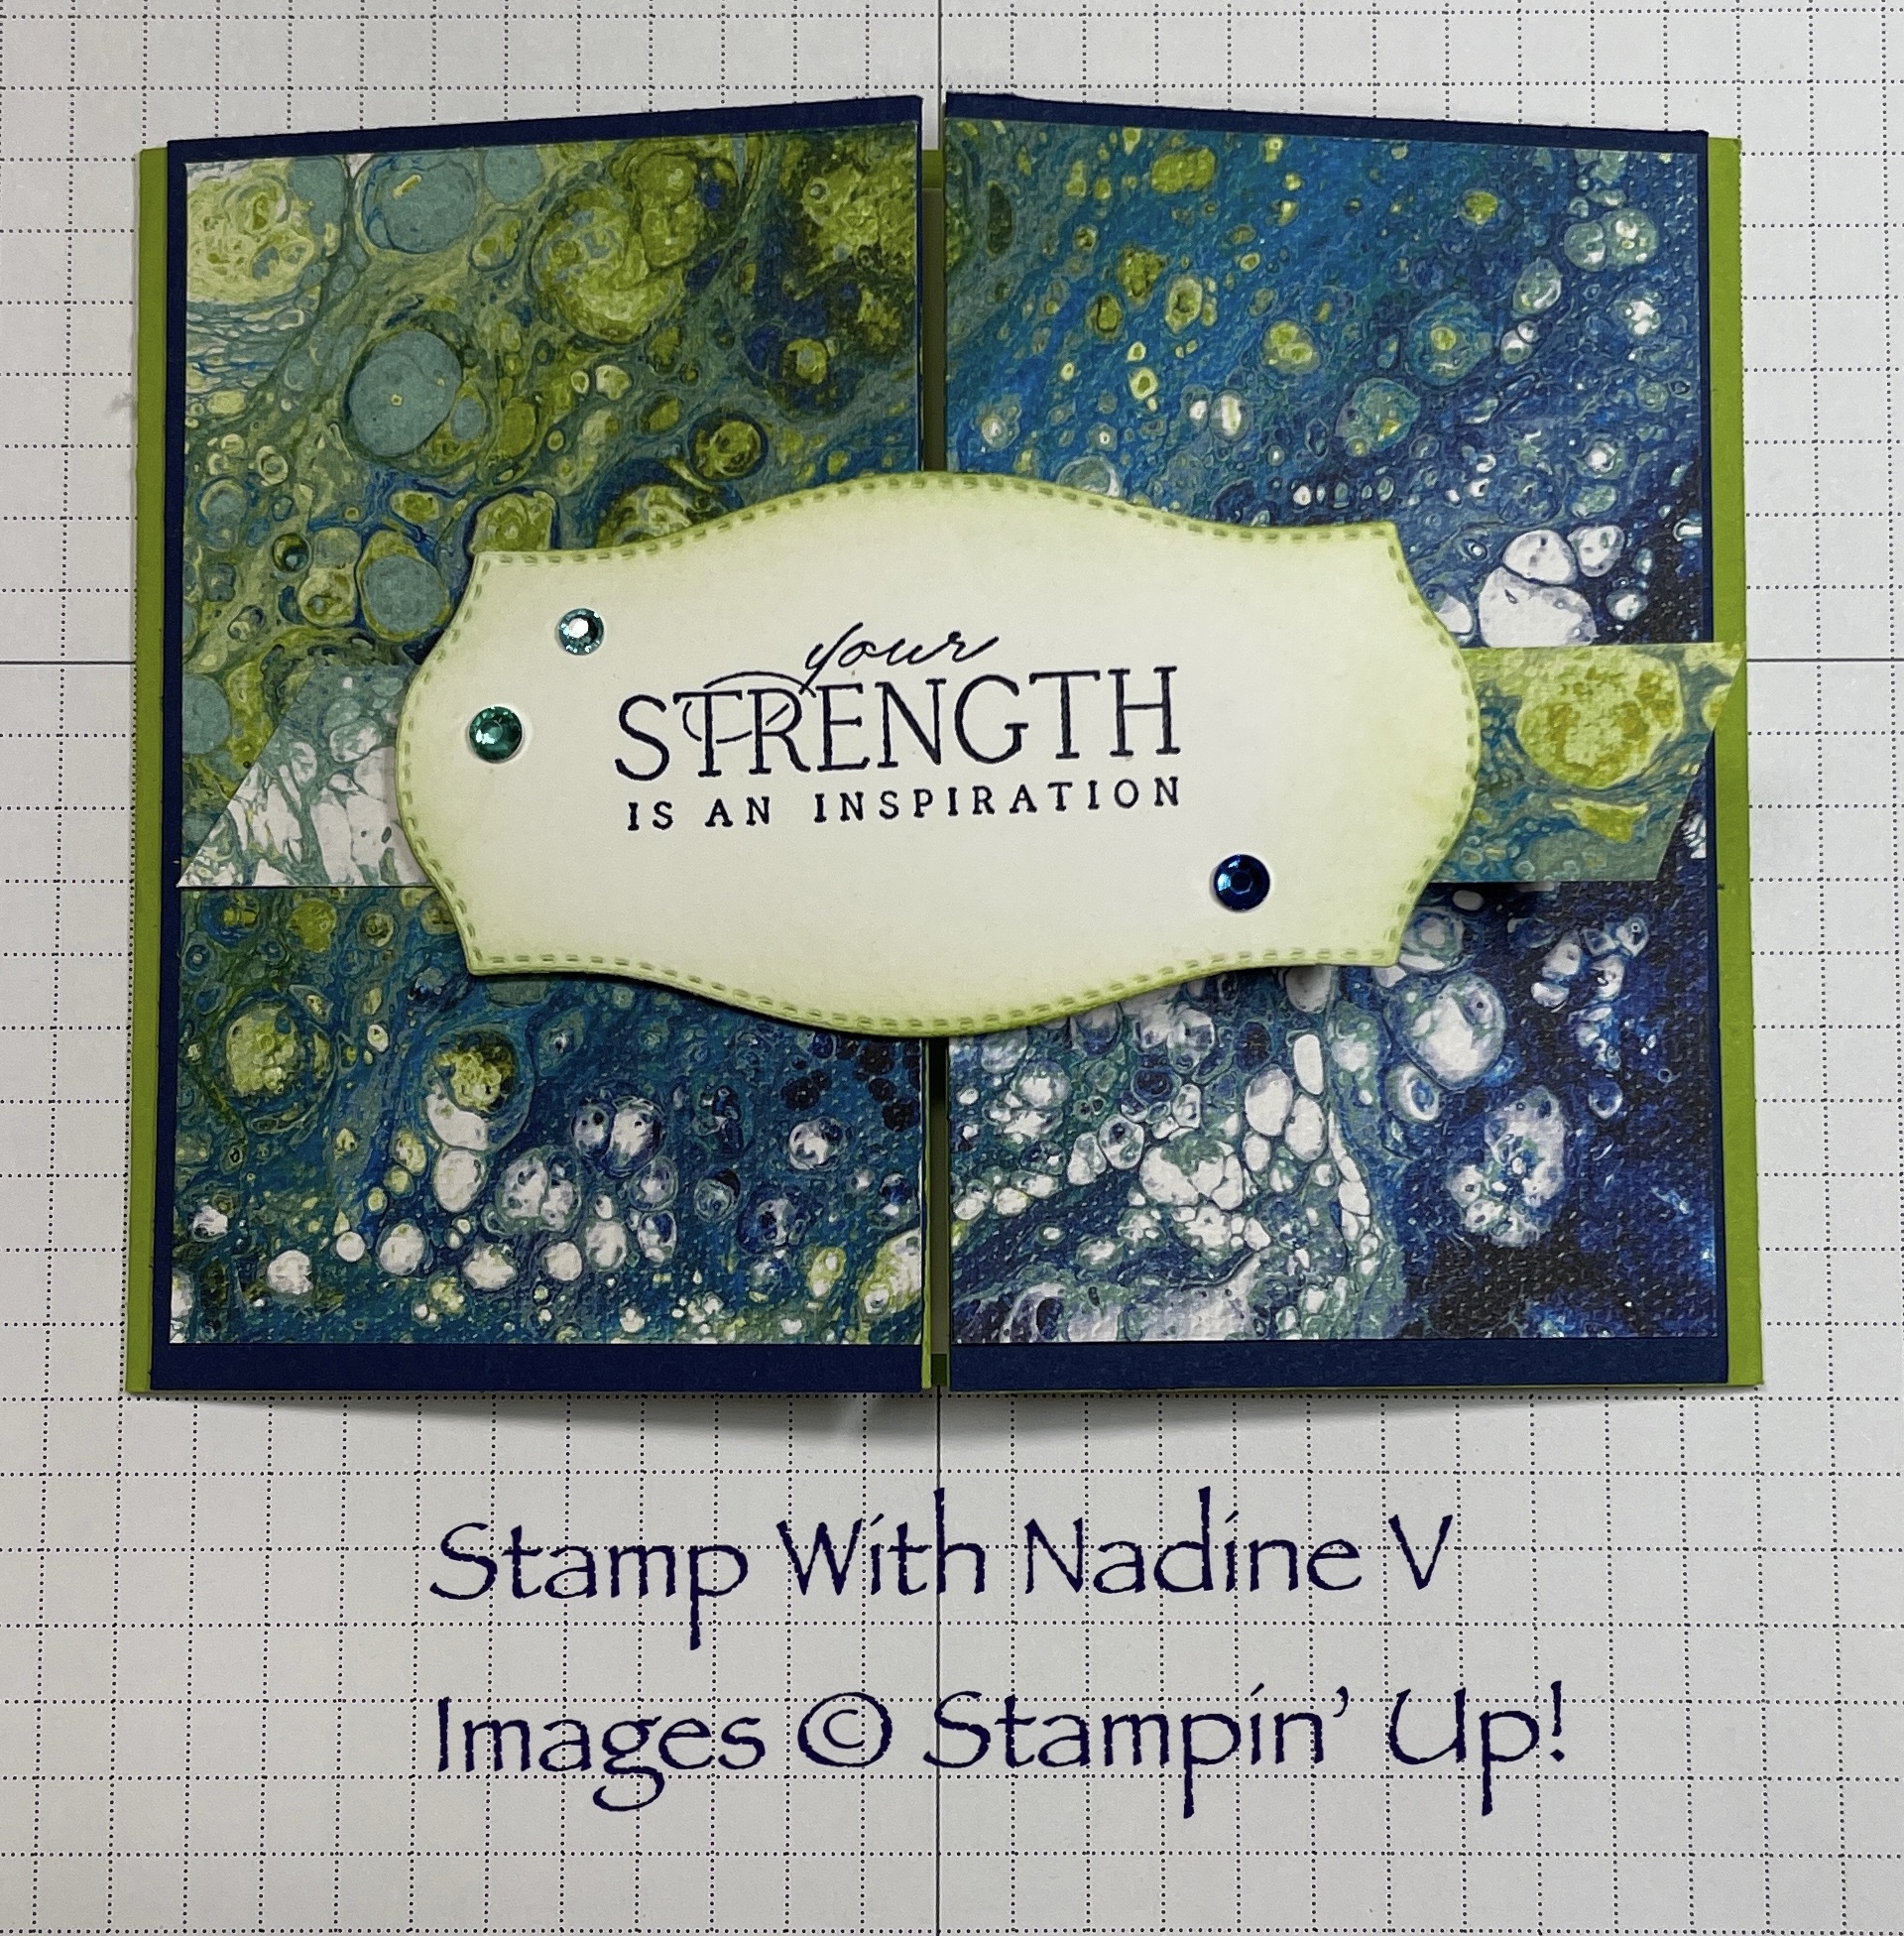
Gate-Fold Card with Belly band – Using the Waves of the Ocean Collection #161797Belly band/ Card FrontInside card/ Belly band – Cards created during #avirtualhangout
Cards created using a colouring technique with Water-based Ink Refills & White Craft (pigment) Ink. Inks are placed on a Silicone Craft Sheet.
ITEMS NEEDED –
Any Classic Stampin’ Ink Refills of your choice
White Craft Stampin’ Ink Refill #101780
Silicone Craft Sheet #127853 (or paint palette) I prefer the silicone sheet as it is a versatile crafters tool – A MUST HAVE – use with various crafting items i.e. paint, inks, adhesives
Sponges, Sponge Daubers #133773
Card stock of choice fir card base or project
Stamp Sets/ Bundles used with the project: In The Moment#157987, Welcoming Window #158237/ Welcoming Window Bundle # 159529, In Good Taste 12×12 Designer Series Paper # 152494
Creative Expression – Utilizing the “Beauty of Friendship” #154983 stamp set to creatively express the versatility of the 2-step tree images to stamp a HEART 💖. I made Valentine cards. The card base is Blushing Bride cardstock #131198 (8 1/2 x 5 1/2” Scored at 4 1/4” Subtles 6×6” DSP #155229 Cut 2 7/8 x 3 7/8” layered on top of Flirty Flamingo #141416 4”x 3” / Corner pieces of DSP are from the Sale-A-Bration DSP Daffodil Afternoon #158127 – Cut 4”x 3” then cut again from top right corner to bottom left corner. Basic White card stock cut using Scalloped Contour Dies #155560 Embellishments – Garden Gems #159277 – Stamp used for sentiment is from Love & Happiness #157633
Beauty of Friendship #154983 – Happy Valentine’s Day Friend 💖
Alternate products used with this layout – Flowering Tulips #157672, Here Together #158634, Flowering Fields DSP #157670, All Together DSP #160039
Here Together #158634 – I Promise Flowering Tulips #157672- Love You So Much Here Together #15863 – You Matter To Me
Tutorial – Video Link is below to follow along Crumb Cake Card Stock – 5 ¾ x 6 ¾ inches Costal Cabana Card Stock – 2 pieces 3 x 4 inches Basic White Card Stock – 2 pieces 2 ¾ x 3 ¾ inches Sweet Treat Designer Series Paper – 2 pieces 2 5/8 x 5 5/8 inches Cutting and Scoring Line up the 6 ¾ side at the top of your paper trimmer at 1 ¼ inches – CUT from 1 ¼” to 4 ½. Turn Card stock 180 degrees. REPEAT Turn 90 Degrees. Line up 5 ¾ inch side at the top of the paper trimmer at 1 ¼ inches – CUT from 1 ¼ to 2 ¾ inches. LIFT cutting blade and slide guide to 4” and CUT down to 5 ½ inches Turn 180 Degrees. REPEAT Line Up the 6 ¾ side at 2 ¾ inches. Score from the top of the card stock and score down to CUT line Lift and go down to the next CUT line and SCORE to the end of the card stock. Turn 180 Degrees. REPEAT – place aside Line up Designer Series Paper – (Being mindful if there is a pattern the paper is facing the correct direction.) Stack at the top of the paper trimmer the 5 5/8 side at 1 1/8 inch. CUT down to 1 ½ inches. Move DSP (Designer Series Paper) along so left-hand side lines up at 1 1/8 CUT down to 1 ½ Turn 90 Degrees Line up the 2 5/8 and CUT from 1 1/8 down to 4 ½. You will have 2 pieces left/ place aside (scrap can be used
Join me to help SALE-A-BRATE my 4 year anniversary as a Canadian Independent Stampin’ Up! Demonstrator. Correctly answer the 2nd question on our Quest to win some prizes. Answer all 4 questions and receive more opportunity to win.
Week 2 – Quest – What is the name of the New Hybrid Embossing Folder in the New January – June Mini Catalogue 2022 – Direct message me with the correct answer for your chance to win prizes.