#avirtualhangout

January 26/22 #avirtualhangout – Simple Fun Fold

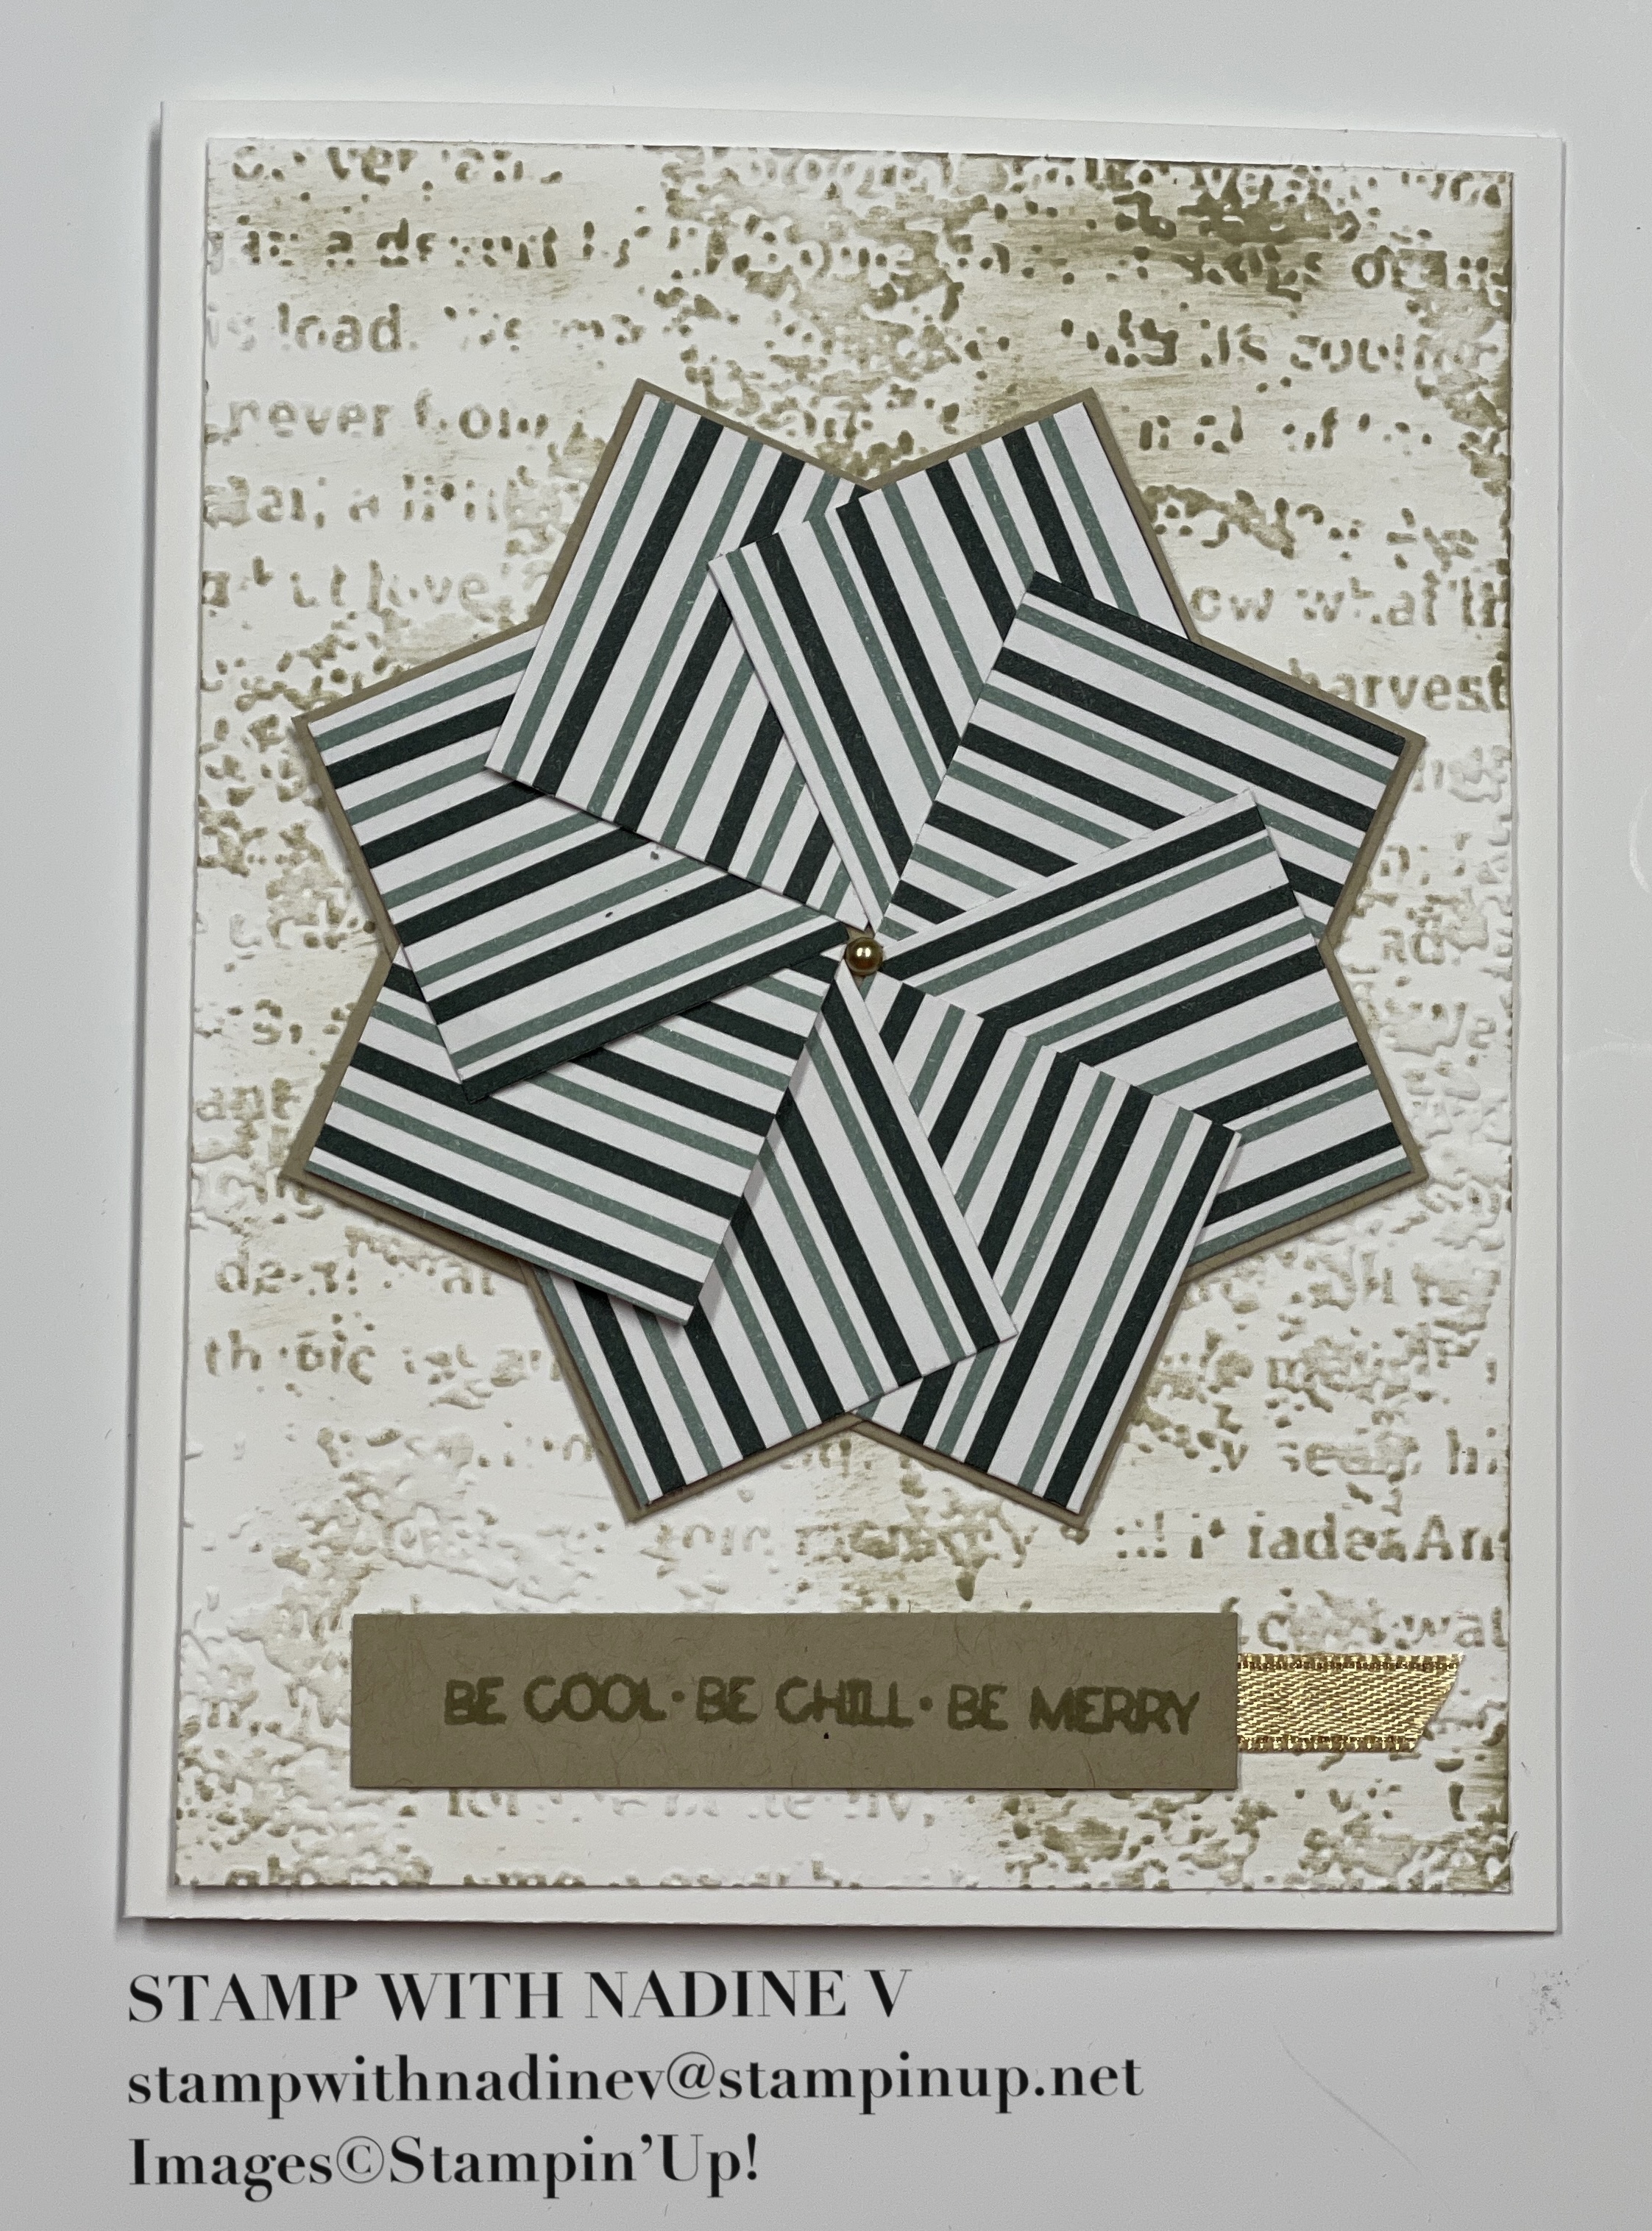
Simple Fun Fold using Simply Marbleous 6×6 Designer Series Paper

MEASUREMENTS

Card Base 8 1/2” x 5 1/2” Scored at 2 1/8” and 4 1/4”

1 piece of coloured card stock cut 3 3/4” x 5”

1 piece of Basic White or Very Vanilla Card stock cut 3 3/4 x 5”

1 Designer Series Paper cut 3 1/2 x 4 3/4”

LAYOUT

Place the piece of 3 3/4” x 5” Basic White card stock on the inside of the card using adhesive/ Stampin’ Seal tape

Place the DSP layer on top of the solid colour piece of card stock using adhesive/ Stampin’ Seal.

Turn DSP/ Solid card stock layer over and place adhesive on only the left side of this piece. Adhere this on the small fold / on card front.

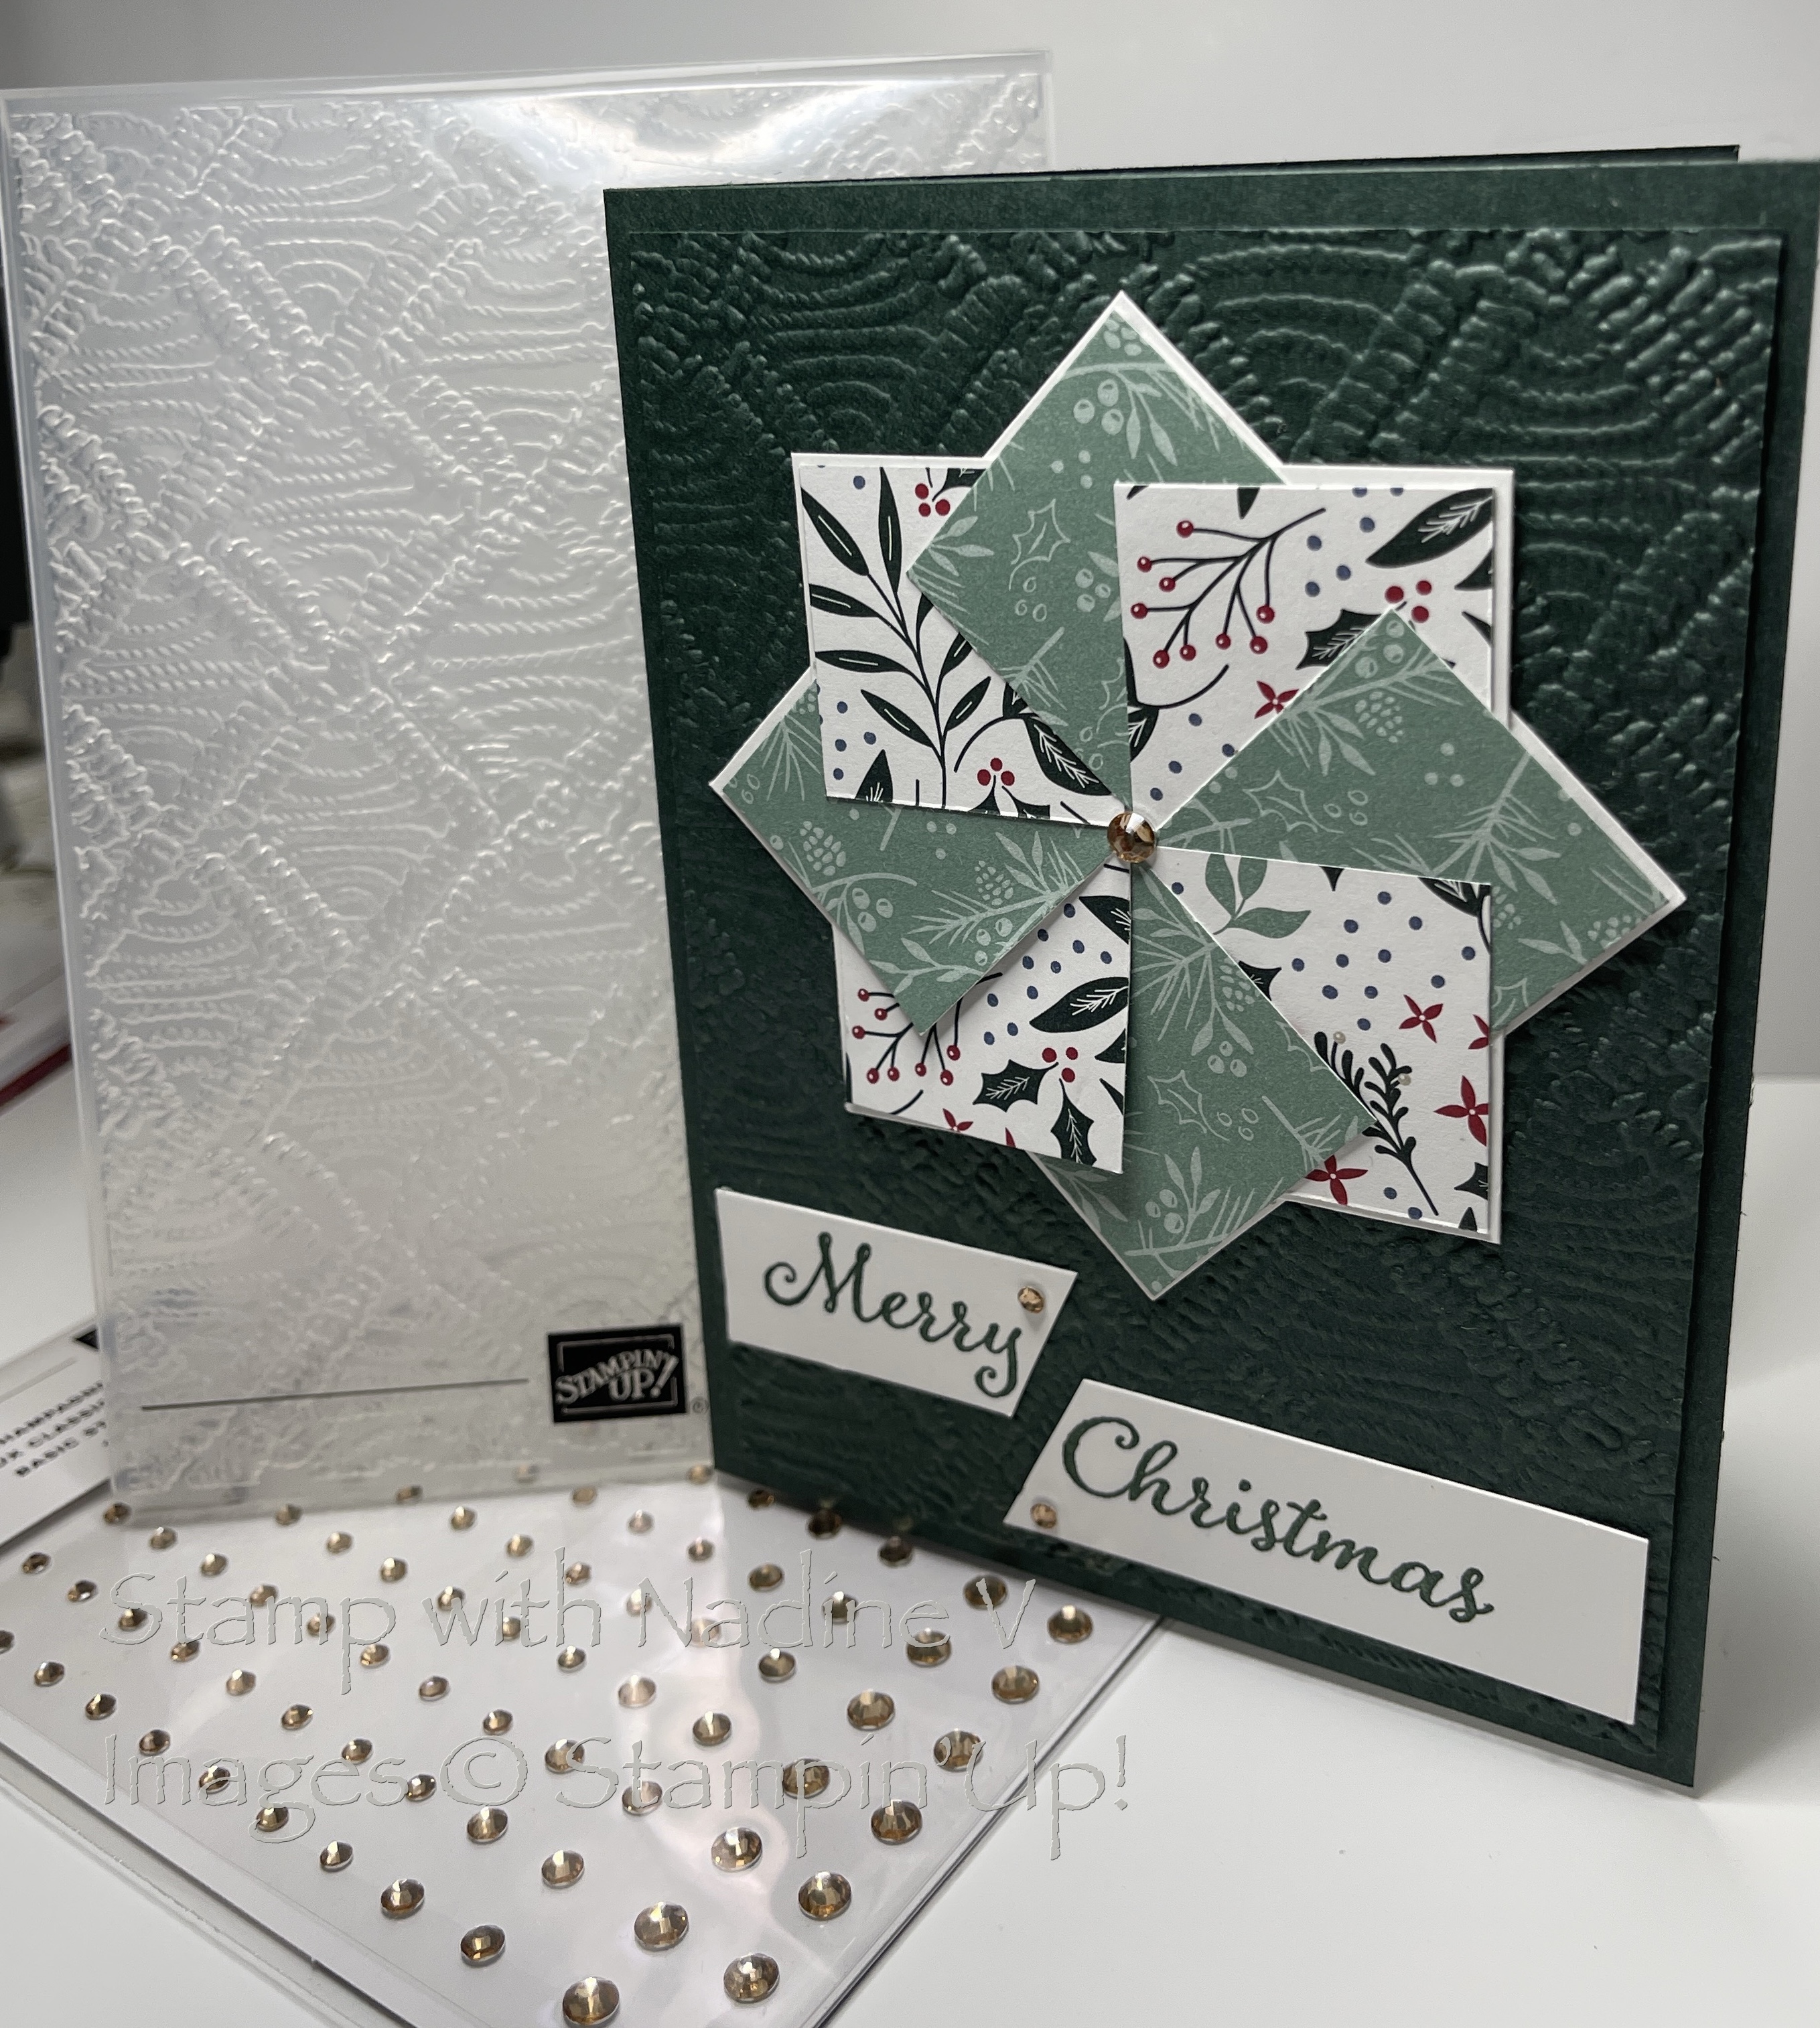
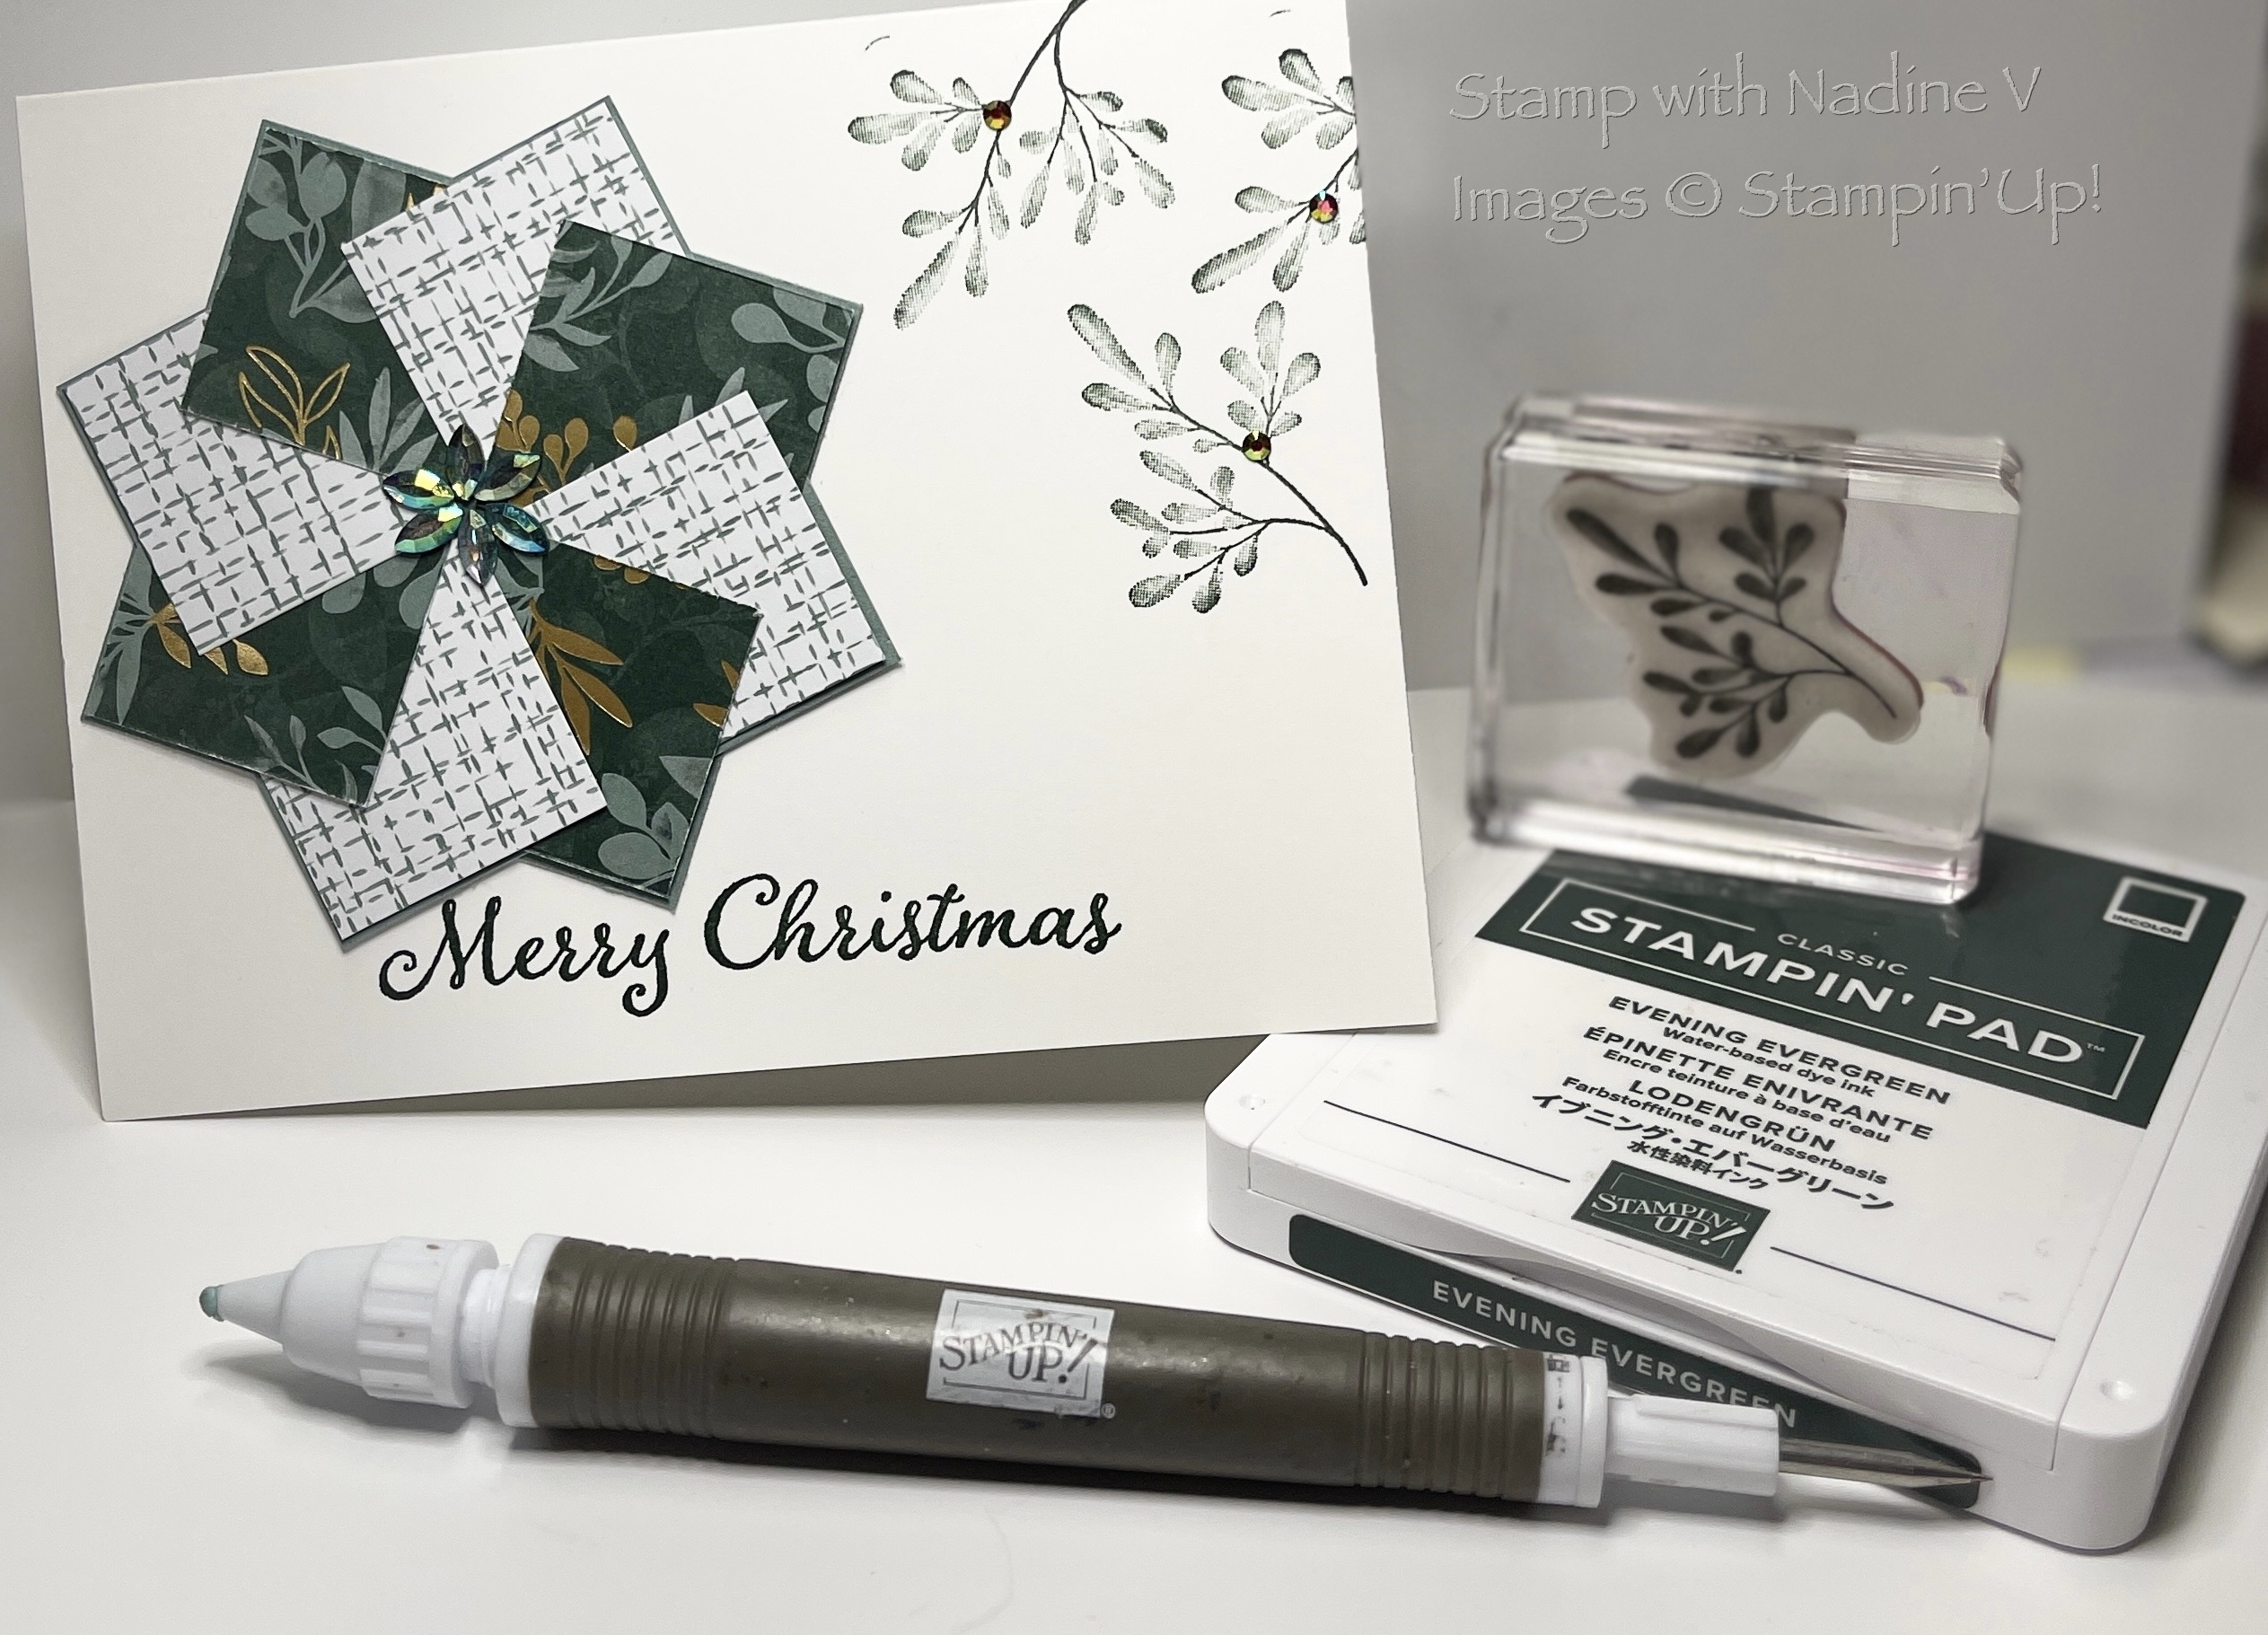
Add embellishments, a tag with a sentiment of your choice.

SIMPLE & EASY – Watch the Facebook Video and follow along to see how simple and easy this fun fold is.

Click on Video Below

fb.watch/aNLqGdvbny/

#avirtualhangout

Jan 19/22 #avirualhangout – Swing Fold Card – Driving By

Tutorial – Video Link is below to follow along
Crumb Cake Card Stock – 5 ¾ x 6 ¾ inches
Costal Cabana Card Stock – 2 pieces 3 x 4 inches
Basic White Card Stock – 2 pieces 2 ¾ x 3 ¾ inches
Sweet Treat Designer Series Paper – 2 pieces 2 5/8 x 5 5/8 inches
Cutting and Scoring
Line up the 6 ¾ side at the top of your paper trimmer at 1 ¼ inches –
CUT from 1 ¼” to 4 ½.
Turn Card stock 180 degrees. REPEAT
Turn 90 Degrees.
Line up 5 ¾ inch side at the top of the paper trimmer at 1 ¼ inches –
CUT from 1 ¼ to 2 ¾ inches. LIFT cutting blade and slide guide to 4” and CUT
down to 5 ½ inches
Turn 180 Degrees. REPEAT
Line Up the 6 ¾ side at 2 ¾ inches. Score from the top of the card stock and
score down to CUT line
Lift and go down to the next CUT line and SCORE to the end of the card stock.
Turn 180 Degrees. REPEAT – place aside
Line up Designer Series Paper – (Being mindful if there is a pattern the paper is
facing the correct direction.)
Stack at the top of the paper trimmer the 5 5/8 side at 1 1/8 inch. CUT down to 1 ½
inches.
Move DSP (Designer Series Paper) along so left-hand side lines up at 1 1/8
CUT down to 1 ½
Turn 90 Degrees
Line up the 2 5/8 and CUT from 1 1/8 down to 4 ½. You will have 2 pieces left/ place
aside (scrap can be used

https://fb.watch/aJBwovSPAQ/

Stamped Images and other Products used:

Driving By # 158099 Available in the Sale-A-Bration Brochure p. 7, and

Tasteful Touches #152562 in the Annual Catalogue p. 111

Embellishment on the Driving By Card Pebbles Enamel Shapes #158141

Follow me on Facebook by visiting Stamp with Nadine V for future Videos, Tips and Inspiration. Subscribe to My YouTube Channel. Happy Stamping

#avirtualhangout

A Pinwheel Technique Card

fb.watch/9ln7xAi7NA/

#avirtualhangout

This is a very easy technique using a few pieces of card stock and designer series paper. Make it the STAR OF THE SHOW.

Measurements –

  • 8 Designer Series Paper cut 1-1/4″ x 1-1/4″
  • 2 Coloured Card Stock
  • 1 card base coordinating/ complimentary colour 5-1/2 x 8-1/2″ Scored at 4-1/4″

Optional layer use 4″ x 5-1/4 – Embossed

Tutorial in the video.

See the samples below

Stamp Sets Used

#153313 – Evergreen Elegance

#157823 – Eden’s Garden

#156410 – Penguin Place

Designer Series Paper (DSP) Used

#156844 – Gold & Rose Gold 6 x 6 Metallic Specialty Paper

#156281 – Sweet Stocking 12 x 12 DSP

#155718 – Tidings of Christmas 6″ x 6″ DSP

#159996 – Ever Eden Specialty DSP

Embossing Folders Used

#155435 – Macrame 3D

#156505 – Timeworn Type 3D

Other Stampin’ Up!©️ Products and Tools used

#144107 – Take Your Pick™️

#152392 – Paper Trimmer

#102300 – Bone Folder

#152813 – Stampin’ Seal

#104430 – Stampin’ Dimensionals™️

#159276 – Basic White Cardstock 8-1/2″x11″