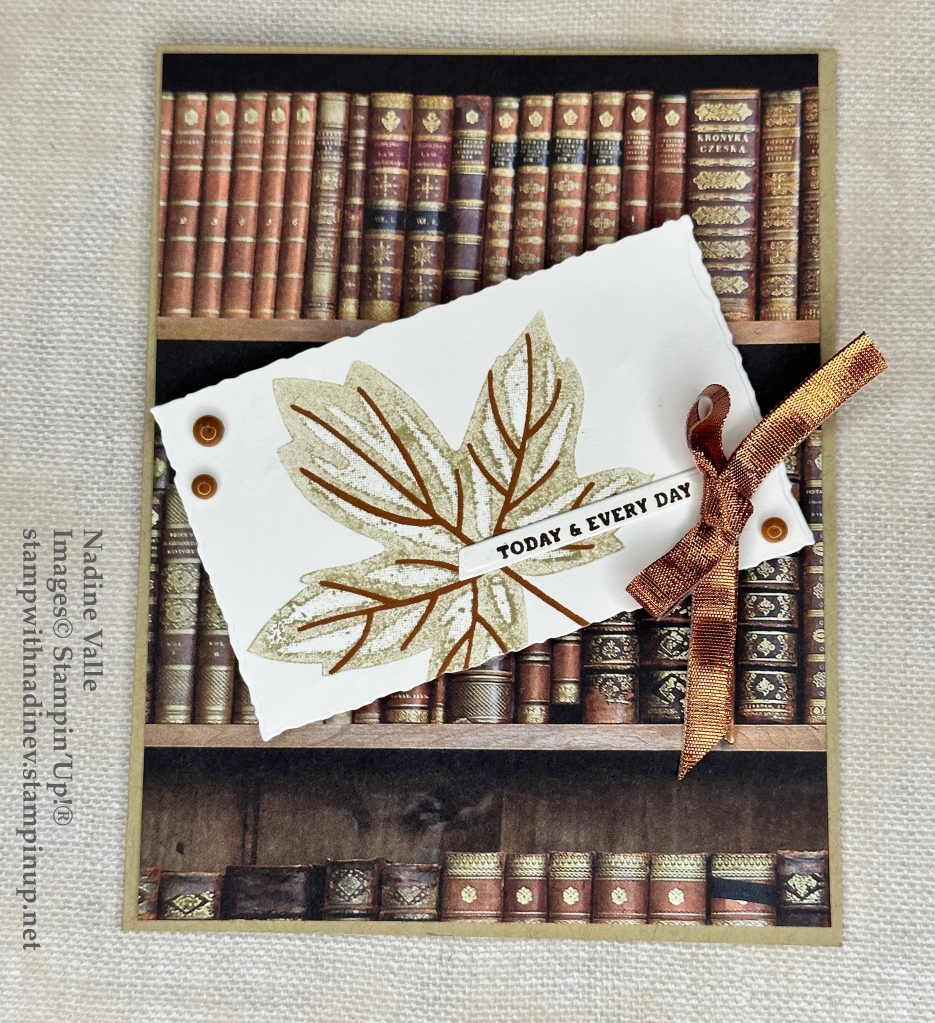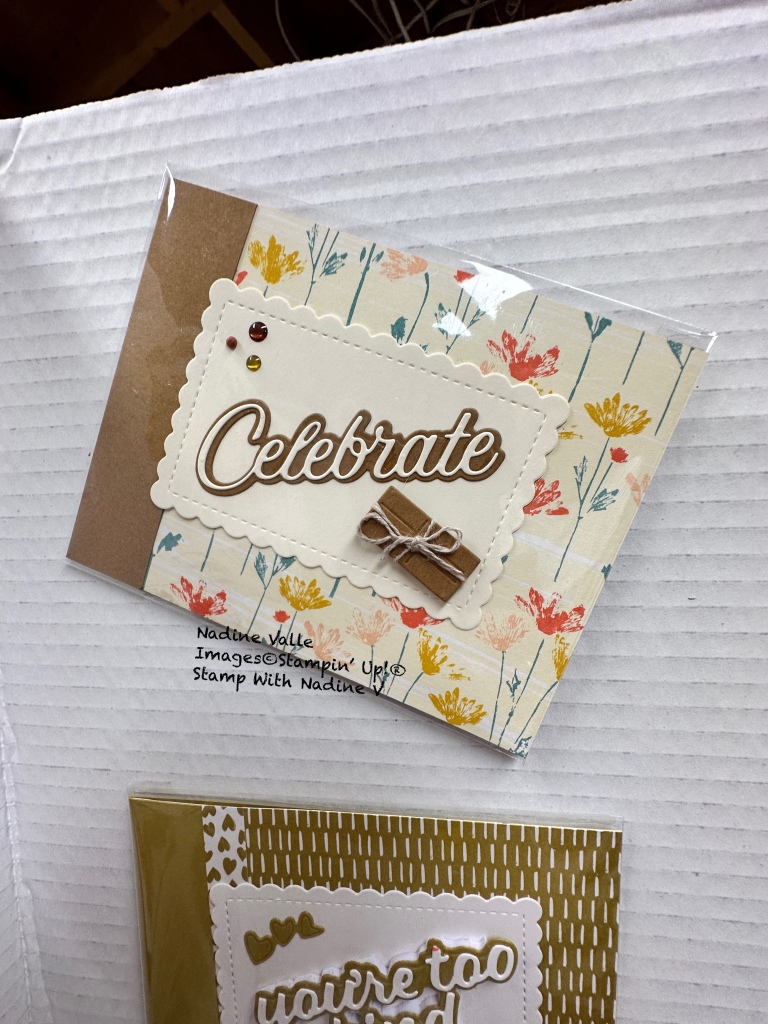

A Fun and really easy way to create cards in a short period of time. All you need is a BASIC TOOL KIT, DSP (Designer Series Paper) and cardstock!
Can we get a YAY! The greatest joy is to hear, “You made that?? WOW!!”
List of Ingredients
Paper Trimmer
DSP – Designer Series Paper (Patterned Paper)
Coloured Cardstock
Embellishments | Ribbon or Gems : BLING BLING
Adhesive of choice| Tombow Liquid Glue or Stampin’ Seal
Dimensional | Double Sided Adhesive Foam Dots
Bone Folder – score and make crisp folds on cardstock and paper
Take Your Pick Tool


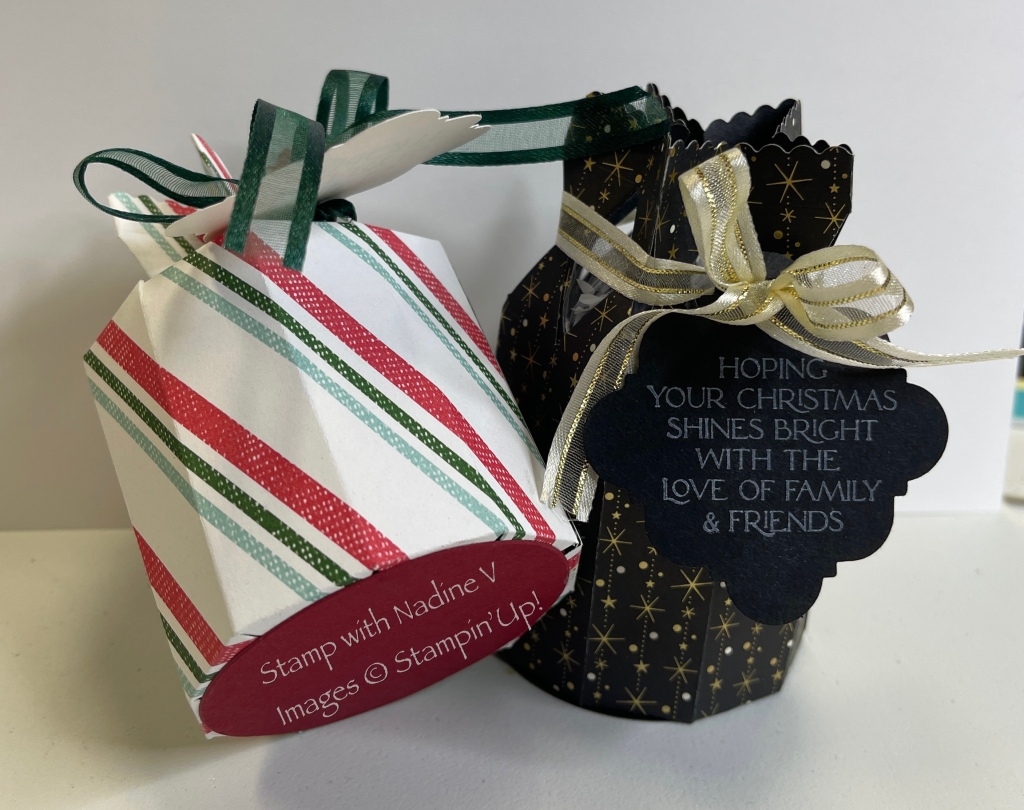
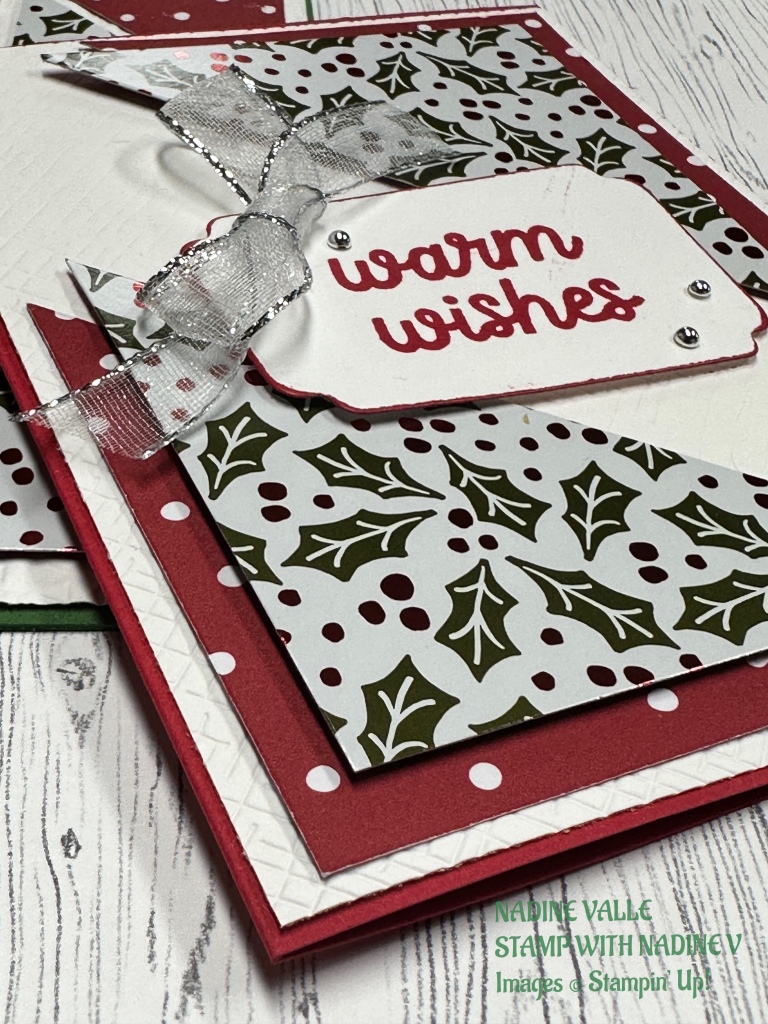
All projects are created by starting out with some pretty Designer Series Paper. You can choose any pattern for any occasion.
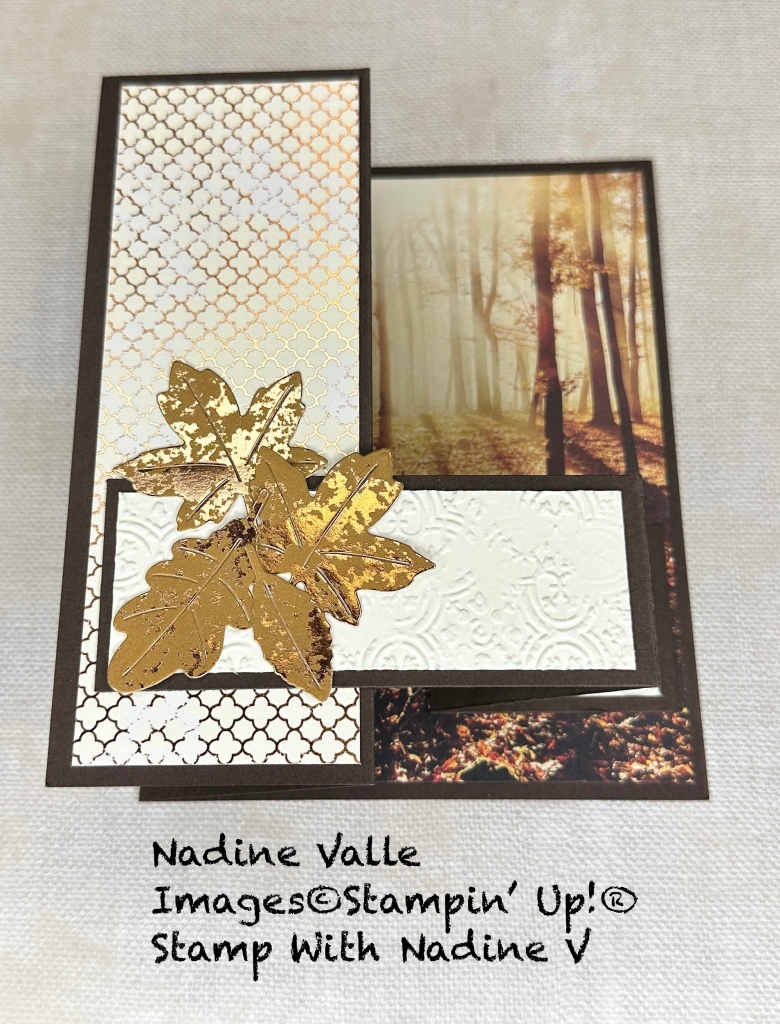
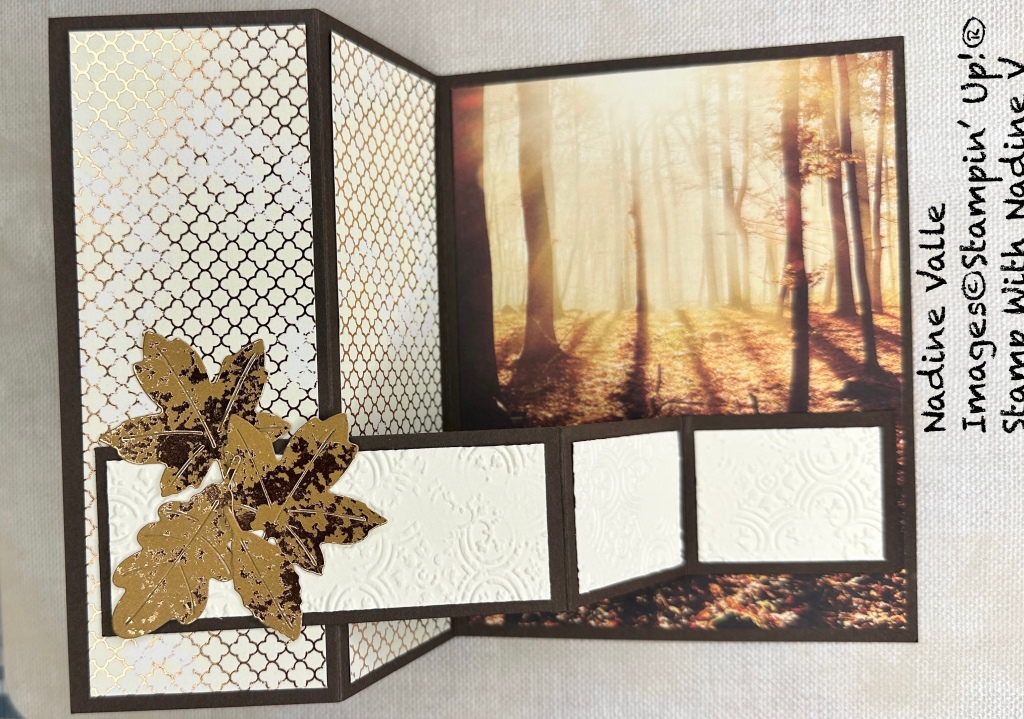
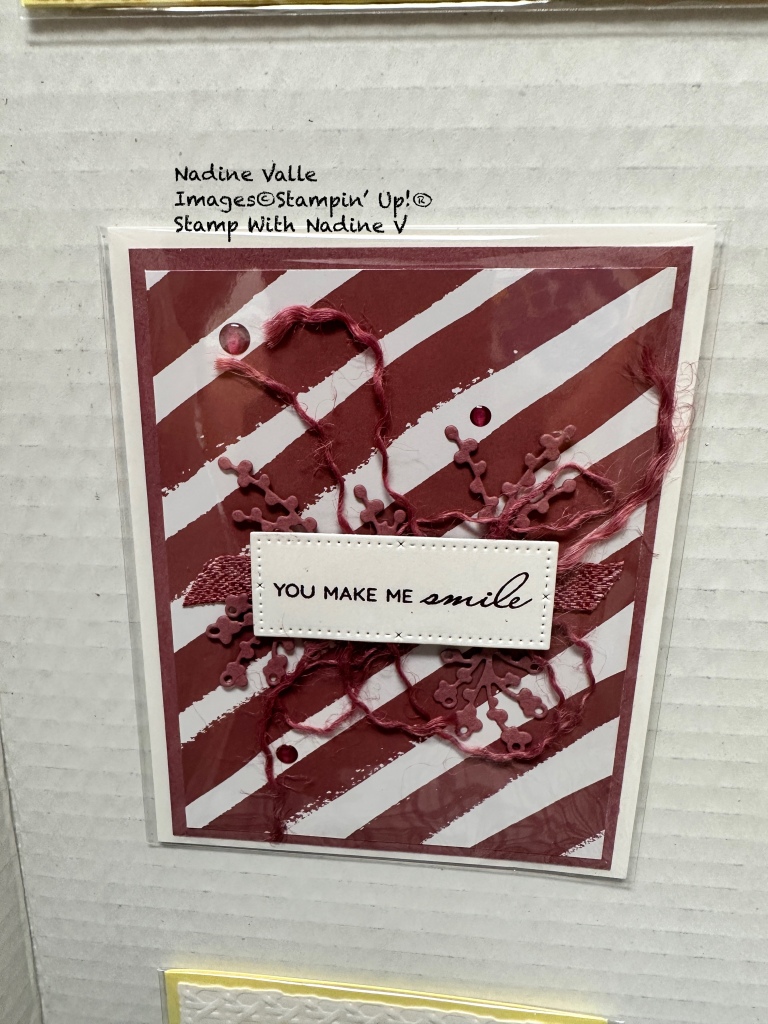
You need two 3″ x 3″ squares to make all of the triangles for this card. As in some of the above cards, I only needed to cut 2 – 3” x 3″ square into two triangles with the Paper Trimmer.
To create the other projects, I then cut that triangle into two more triangles. And then, I cut one of those triangles into two triangles. 3 cuts in total. The patterns on each card are the reverse of the same designer series paper (DSP). When choosing your patterns, be sure you like both sides (or use another piece of paper, pattern or solid).
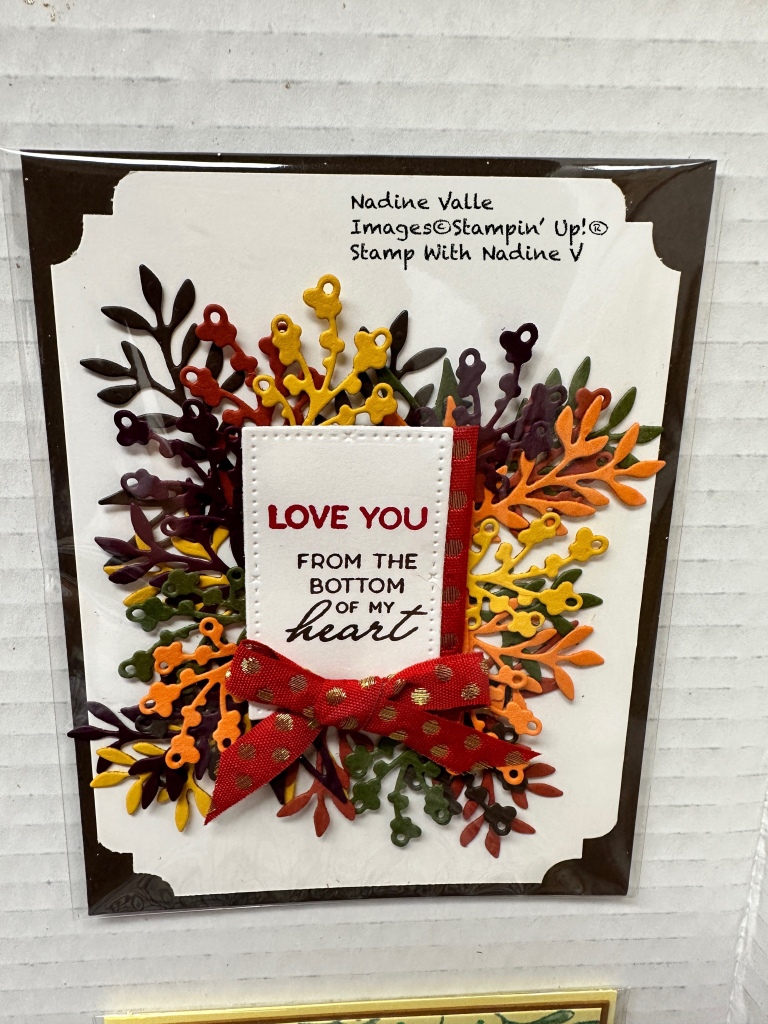
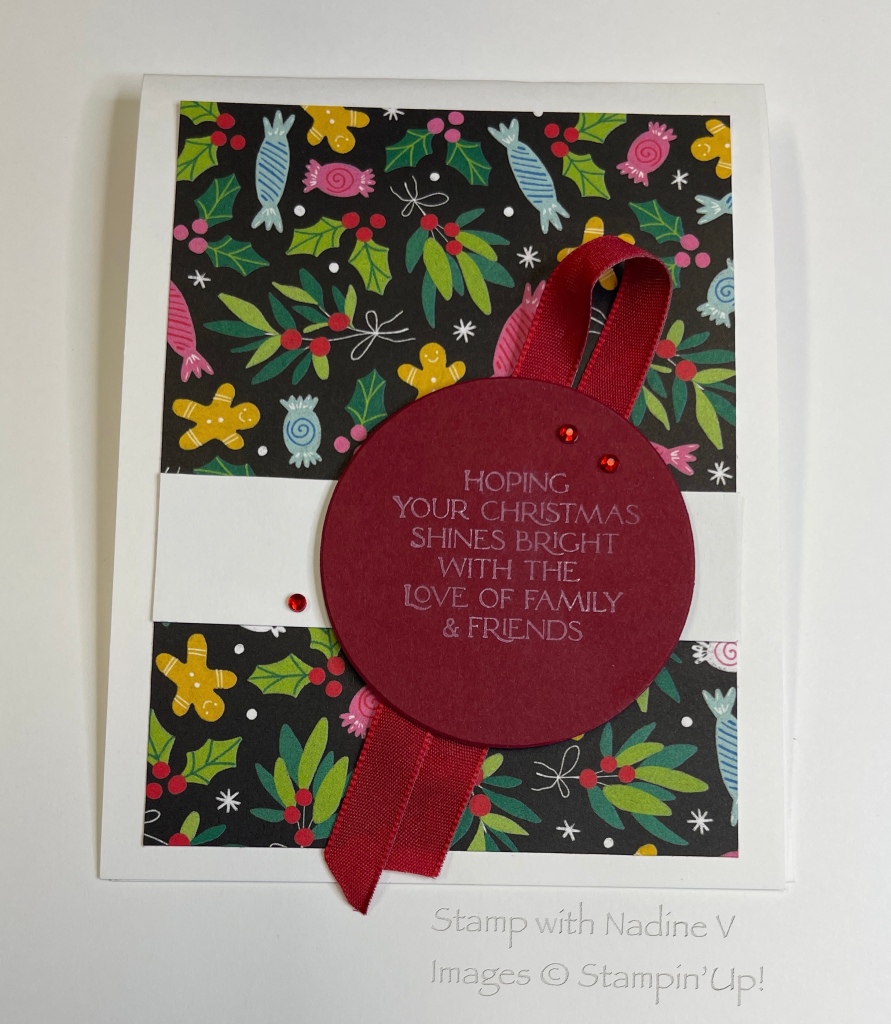
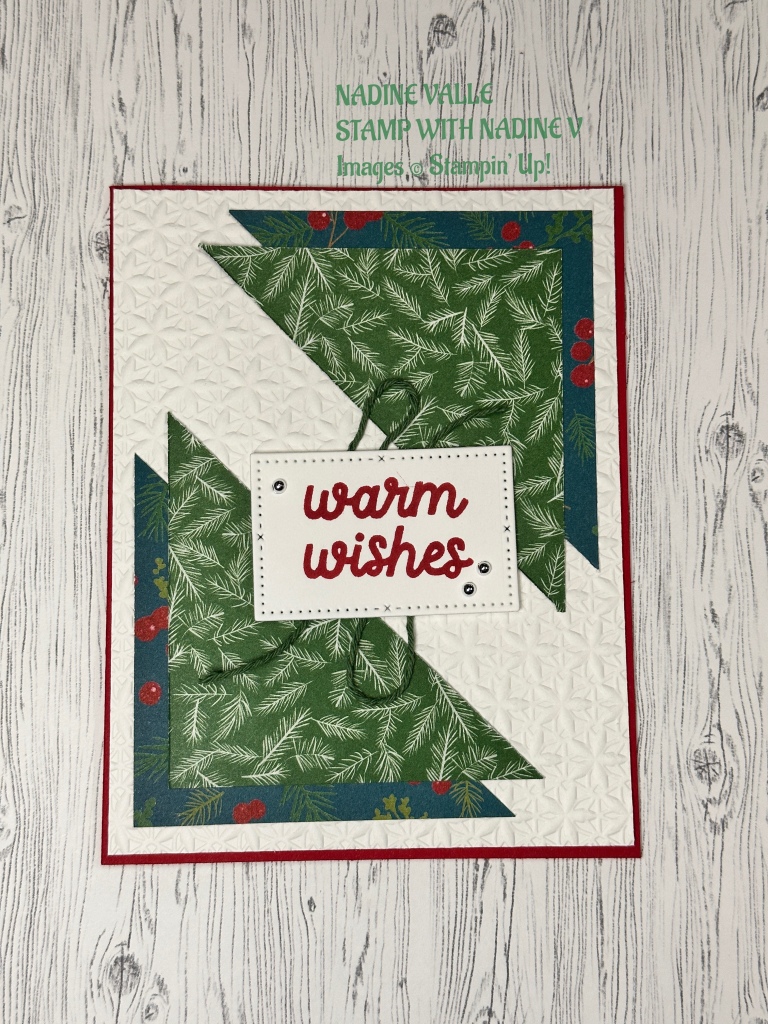
I offer a step up for the card base. see Instructions below.
Cut your card base to either, 5 1/2” x 8 1/2 Scored at 4 1/4” on the 8 1/2” side (or) 11” x 4 1/4” Scored at 5 1/2” • Add a layer measuring 4 1/8” x 5 3/8” and hey fancy it up by running that layer in an embossing folder, add your cut triangles to that layer. Waa Laa!
Create • Inspire • Share
Need any help or want to know more about Paper Crafting and Stampin’ Up! Reach out. Im happy here for you! 💌
BE A WINKING STELLAR Learn more
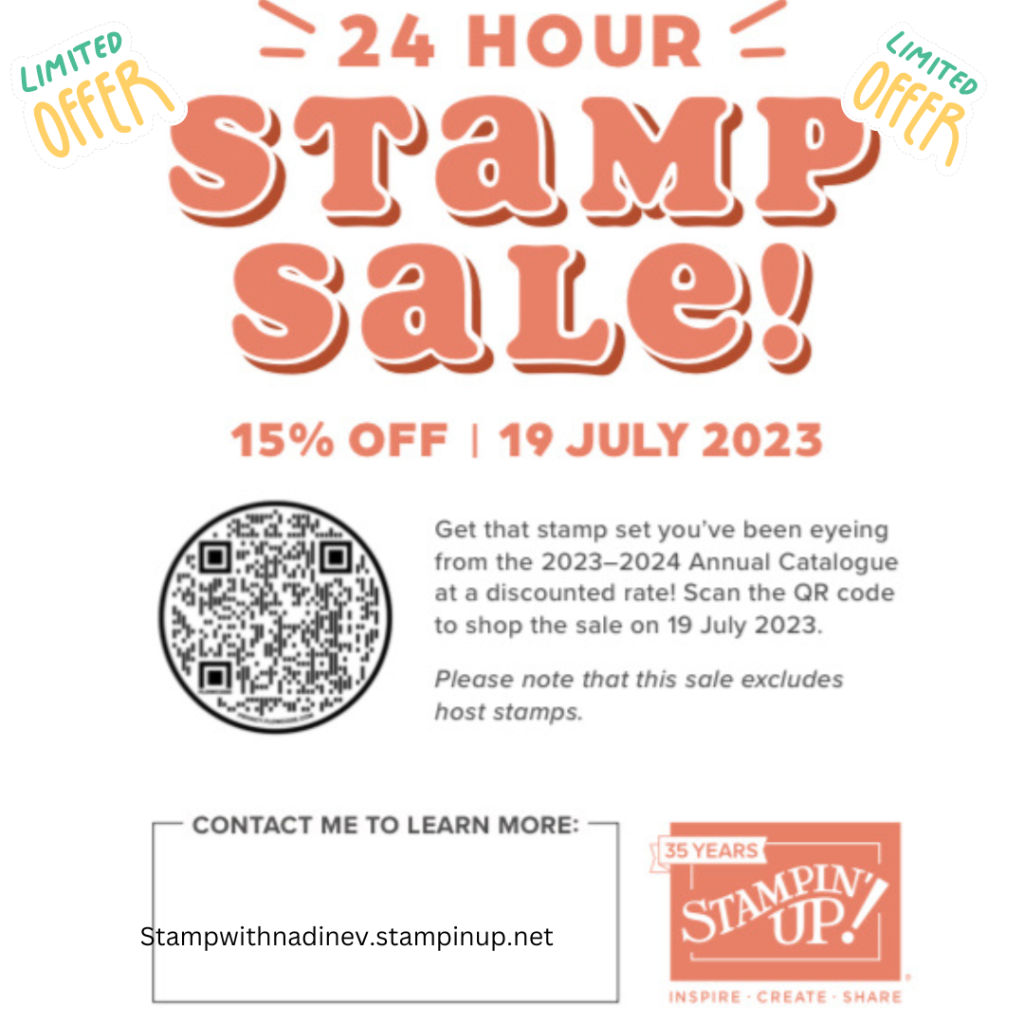
SHOP WITH ME Add to Your Creative Stash